Wood Slat Walls in the Bathroom: Why "Waterproof" Doesn't Tell the Whole Story
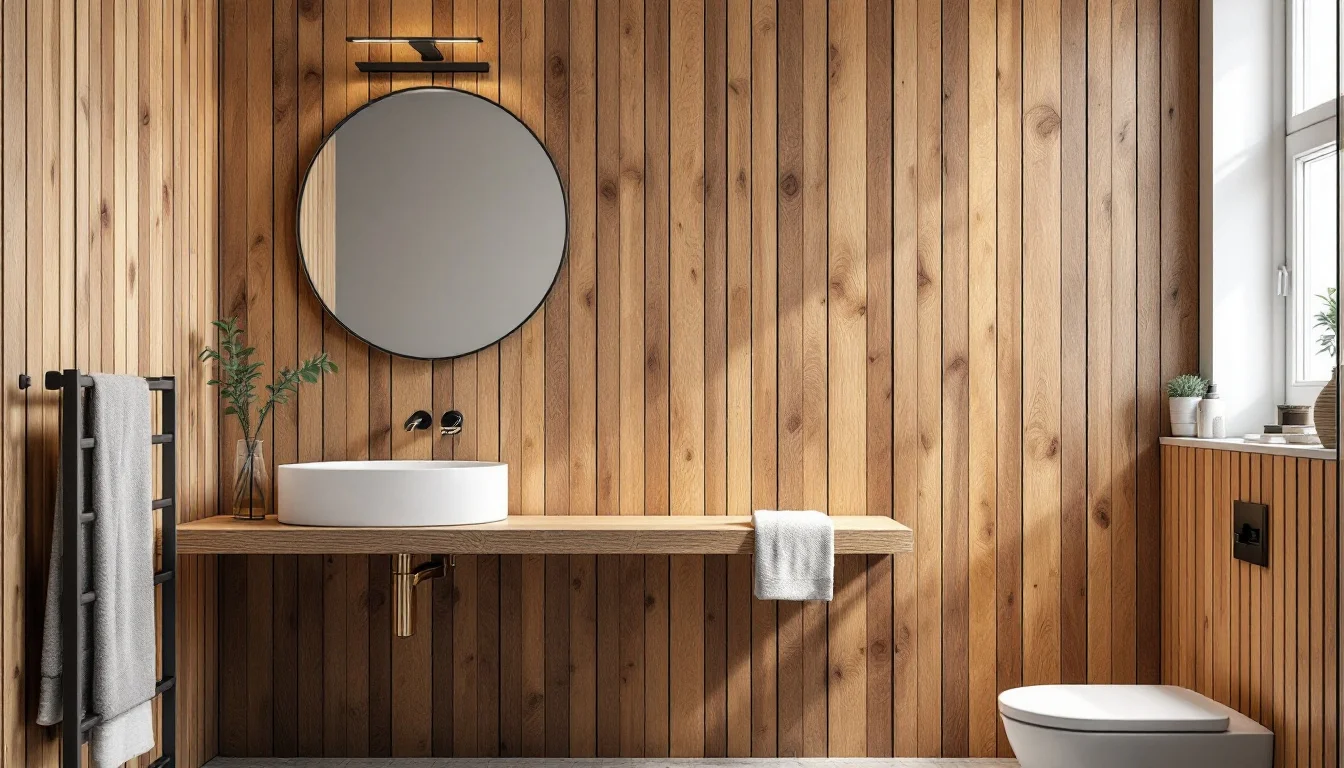
A slat panel marked "waterproof" on its spec sheet inspires confidence before you even open the box. But it's a partial promise: it covers the material itself, not the finished wall once panels are fitted side by side. The manufacturers themselves make this clear: these panels are designed for rooms where humidity is a concern—bathroom, kitchen, laundry room—but that doesn't mean they can withstand any water exposure in those spaces. The difference comes down to where you install them, not what the label says. Here's how to read the fine print before ordering, choose the right material, install correctly, and budget for a wood slat wall that will actually last without surprises.
Key Takeaways
- A waterproof panel is not a guarantee for the entire room: its weak point is the seams between panels, not the material itself
- Waterproof slat panels are designed for accent walls, behind a bathtub without a shower or above a vanity—not inside a shower enclosure or behind a shower-tub combination
- For a genuine shower zone, choose a waterproof panel system specifically designed for shower walls with continuously sealed joints, rather than a standard decorative WPC/PVC panel that shares the same seam vulnerability as simple slats; cedar, naturally rot-resistant, works better in areas protected from direct spray and well-ventilated
- The per-square-meter price rarely reflects your final budget: trim profiles, end caps, and hardware add 12 to 18 percent to material subtotal
- Plan for 10 to 15 percent waste in your order, whatever material you choose
The Word "Waterproof" Hides a Detail That Changes Everything: the Seam, Not the Panel
A waterproof slat panel's material truly resists water: that's true and verifiable. The problem lies elsewhere, at the joint between two panels fitted side by side. According to Innest's Dry-Slat™ article, a manufacturer of waterproof slat wall panels, "the joints between slat panels can't be sealed against direct shower spray." In other words, the panel handles ambient humidity and occasional splashes, but not a continuous, directed stream of water that would seep through the seam.
This distinction explains why the same manufacturer reserves its panels for specific uses: accent wall, wall behind a bathtub without a shower, panel behind a vanity. In all three cases, water reaches the surface indirectly—splash, steam, ambient humidity—never as a sustained direct spray. Be careful, though, with the very common shower-tub combination: the wall behind the tub can then receive a direct, sustained spray from the showerhead, exactly the type of exposure these panels aren't designed to handle. In that case, treat the wall as a shower zone, with a system of continuously sealed joints, not simply as a bathtub wall—the same logic applies even more so inside a shower enclosure, where spray hits the wall directly several times a week for years.
Another argument in favor of these composite panels in their intended use: the decorative finish is applied in the factory, so no painting, staining, or additional sealing is needed after installation. A real advantage, but it doesn't change the structural weak point of the seams.
To clarify where to install what, here's a decision grid by bathroom zone.
| Bathroom Zone | Recommendation | Risk If Misinterpreted |
|---|---|---|
| Accent wall, away from direct spray | Waterproof slat panel, direct installation | Low: the area is never exposed to water spray |
| Behind the bathtub (without shower) | Waterproof slat panel acceptable | Moderate if repeated splashing without adequate ventilation; if the bathtub has a shower, treat the wall as a shower zone (direct spray) |
| Behind a vanity | Waterproof slat panel acceptable | Low, naturally protected area |
| Inside shower enclosure (or shower-tub wall) | Avoid this type of panel; choose a material with continuous surface and properly sealed joints | High: seam infiltration under direct, repeated spray |
This grid doesn't replace advice for your specific setup, but it asks the right question before you buy: where will water actually hit the wall?
WPC, Cedar, White Oak, or MDF: Which Material for Which Damp Zone?
Once you've identified the zone, you need to choose the material. Not all "wood-look" panels behave the same way with humidity, and the Total Wood Store 2026 guide on wood wall cladding clearly distinguishes material families.
WPC (wood-plastic composite) and PVC panels are described as 100 percent waterproof: they visually mimic solid wood slats or fluting without the porosity. By contrast, standard painted MDF is not intended for damp zones, no matter the quality of its surface finish—it's a fiber panel that swells with prolonged water contact. There is, however, moisture-resistant MDF (HMR), designed for humid environments and usable in the bathroom away from direct water contact, provided edges and faces are properly protected.
On the solid wood side, two species stand out for their natural behavior in humid conditions:
- Western red cedar and Eastern aromatic cedar contain natural oils that give them rot and insect resistance
- White oak has a cellular structure that limits water movement through the grain, supporting its stability in fluctuating humidity
The same guide specifically recommends, for a bathroom or laundry room, Western red cedar installed tongue-and-groove (T&G) or channel profile (a U-shaped groove that receives each slat), provided the area is protected from direct spray and well-ventilated.
Quick Comparison
| Material | Humidity Resistance | DIY Installation | Recommended Use |
|---|---|---|---|
| WPC / PVC | Inherently waterproof | Accessible, panels often in large format | Damp zones, including near spray areas |
| Red cedar / aromatic cedar | Natural rot resistance thanks to wood oils | Moderate, T&G slat installation | Protected, well-ventilated areas |
| White oak | Good dimensional stability in fluctuating humidity | Moderate to technical | Variable humidity zones, away from direct spray |
| Standard painted MDF | Not recommended for damp zones | Easy | Reserve for dry rooms |
| Moisture-resistant MDF (HMR) | Designed for humid environments, away from direct water contact | Easy, provided edges and faces are properly protected | Bathroom, away from direct spray |
This table doesn't rank materials in absolute terms: it helps match your choice to the zone you identified in the previous grid.
How to Secure Slats Without Compromising Waterproofing
Installation technique depends directly on the material you choose, and it has a direct impact on seam durability over time.
For large-format composite panels—such as waterproof slat panels or veneered panels—installation is often done with construction adhesive or self-adhesive backing, according to the Total Wood Store 2026 guide. It's a method accessible to DIYers with no heavy equipment needed, and it limits visible seams since these panels come in large format.
For solid wood tongue-and-groove, the classic method remains blind nailing: the nail passes through the tongue of each slat to drive into the studs, with no nail head visible on the surface. This technique requires more precision and slightly more time, slat by slat, than installing a single large panel.
Whatever the material, two points deserve special attention:
- The care taken with the seams themselves, since—as we've seen—that's where the wall's real durability is determined
- Proper room ventilation, which isn't optional but an essential complement to installation technique: even a perfectly waterproof material ages poorly in a bathroom that never dries between showers
The speed of large-format panel installation compared to a traditional batten wall—which requires spacing, fastening, and finishing slat by slat—often makes it the most realistic option for a weekend DIY project, provided you respect the intended usage zone.
The Real Budget for a 5 m² Wall: Beyond Price Per Square Meter
The price advertised per square meter on a product sheet rarely reflects the actual cost of your project. To illustrate, let's take an accent wall of 5 m²—roughly 54 square feet, the unit in which North American price ranges are typically published.
Material cost benchmarks provided by Total Wood Store (2026) as approximate guides are:
- MDF: $3.50 to $8.00 USD/sq ft
- WPC/PVC: $5.00 to $11.00 USD/sq ft
- Acoustic slat panels: $7.50 to $22.00 USD/sq ft
- Solid wood: $15.00 to $40.00 USD/sq ft and up
Applying these ranges to 54 square feet, the raw material subtotal ranges roughly from $190 to $430 for MDF, $270 to $595 for WPC, and $810 to over $2,160 for solid wood. But this subtotal isn't your final budget: you need to add 10 to 15 percent for waste (material cut and lost) plus 12 to 18 percent for trim profiles, end caps, cornices, and hardware—two line items systematically forgotten in an initial estimate. Once these two margins are factored in, MDF approaches $230 to $590, WPC approaches $330 to $810, and solid wood approaches $1,000 to over $2,900, still for materials alone.
If installation is handled by a professional rather than DIY, the same source places labor between $3 and $10 USD/sq ft for a flat wall, and $8 to $15 USD/sq ft or more for a complex pattern—that is, on 54 square feet, roughly $160 to $540 for simple installation.
These figures are North American benchmarks, expressed in dollars and square feet: they don't correspond to a Belgian quote and should be verified with local suppliers, as exchange rates and distribution prices vary by market. Their value isn't the exact amount, but the structure of the calculation: material, then waste, then finishes, before arriving at a budget that resembles actual project costs.
Frequently Asked Questions
Does maintaining a waterproof slat panel require a special product? No: a soft cloth and mild cleaner are enough, without scrubbing seams with a brush like you would with standard tile, according to Innest's product sheet.
Do I always need to hire a professional for installation? Not necessarily. Large-format composite panels (WPC, PVC, waterproof slat panels) are often installed with construction adhesive or self-adhesive backing, which remains accessible for DIYers. Solid wood tongue-and-groove installation with blind nailing, on the other hand, requires more precision slat by slat, and may justify hiring an experienced installer if you're not comfortable with that technique.
Can I check the look before ordering the whole wall? Yes: waterproof slat panels come in several wood-look finishes, and you can request samples before ordering to compare colors directly in your home under the room's actual lighting.
Conclusion
Choosing a wood slat wall for the bathroom comes down to one simple question asked from the start: where will water actually hit the wall? This question guides your choice of placement, material—WPC, PVC, cedar, or white oak for damp zones; moisture-resistant MDF (HMR) in the bathroom away from direct water contact; standard painted MDF reserved for dry rooms—installation technique, and real budget including waste and finishes. A wall treated carefully at the seams, well-ventilated, and suited to its actual use will last far longer than the single word "waterproof" on the label suggests.