Bathroom Wallpaper: Installation Methods
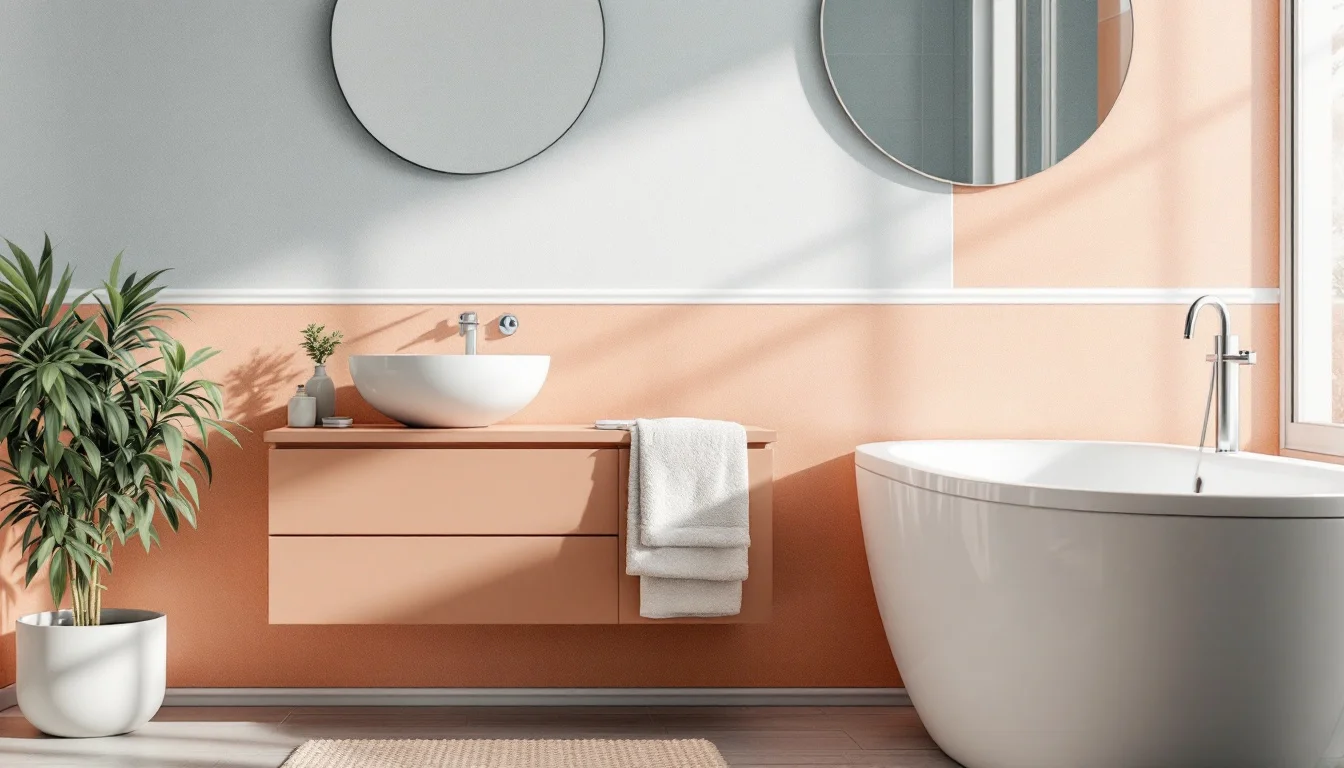
Introducing wallpaper into wet rooms can radically transform a home's aesthetic. This renovation project appeals to many DIY enthusiasts eager to trade traditional, cold walls for warm, inviting patterns. However, wallpapering a bathroom is nothing like a standard wall decoration project; it poses a genuine challenge in terms of waterproofing and technical preparation. Constant steam, splashes, and temperature fluctuations create a particularly harsh environment for wall coverings. Given these constraints, a successful installation requires a strict, systemic approach and the exclusion of areas directly exposed to water. Simply choosing a beautiful roll isn't enough. The interaction between the original wall, the adhesive's chemistry, and the surface finish will dictate the longevity of your installation. This guide details professional methods to ensure durable adhesion under tough conditions, all while respecting your home's architectural constraints.
Key Takeaways
- Chemistry before paper: The care instructions printed on the rolls do not guarantee impermeability against the room's ambient humidity.
- Adding dispersion adhesive: Modifying standard wallpaper paste is recommended to prevent the strips from peeling in damp environments, though this makes future removal more difficult.
- Prior sanitary inspection: While localized mold can be treated, damaged tiles or deeply moldy grout are dealbreakers that require halting the project.
- Choosing reversibility: The wall preparation method (destructive smoothing vs. dry-lining) must be selected based on whether you own or rent the property.
- Pre-installation checklist: A sound substrate, inspected grout, specific primer application, modified adhesive, and landlord approval if renting.
Does the "Washable" Label Guarantee Waterproof Wallpaper?
When shopping, buyers naturally focus on the care specifications provided by manufacturers. However, wallpaper care symbols (whether labeled washable, highly washable, or scrubbable) merely indicate resistance to cleaning. They in no way guarantee the covering's waterproofing or its suitability for areas directly exposed to water. Wiping away a smudge with a sponge is one thing; withstanding daily condensation is another entirely.
Thinking in Terms of a Complete System
The nature of the backing—be it non-woven, textile, or traditional paper—does not single-handedly determine moisture resistance. It is imperative to evaluate the complete product. This encompasses its surface, seam management, the type of adhesive used, and the nature of the wall substrate. Waterproofing is a chain where every single link matters.
Surface Options
To simplify installation, vinyl wallpaper is often a practical option for bathrooms subject to moderate humidity or occasional splashes. Its robust, easy-to-clean surface makes it a safe bet. Other products may also be suitable, including certain non-woven or paper-backed wallpapers, provided their care characteristics match the intended location.
Nevertheless, interior design projects often incorporate more traditional materials for aesthetic reasons. If you opt for a non-woven or traditional wallpaper without a vinyl coating in a bathroom, the procedure changes. It must then be treated with a clear latex glaze. This additional protective sealant actively shields the fibers from water and moisture.
How to Master Dispersion Adhesive for a Durable Installation
The secret to a wall covering that won't peel above the sink lies in modifying the adhesive. Traditional water-soluble wallpaper paste will invariably fail under the constant assault of steam.
Modifying the Adhesive
To significantly boost the adhesive power of bathroom wallpaper, it is recommended to add a proportion of dispersion adhesive to your standard wallpaper paste, following the manufacturer's guidelines. In particularly high-stress environments, you can even replace the traditional paste entirely with dispersion adhesive.
Drying Time and Preparation
This chemical modification introduces new site constraints. Dispersion adhesive dries and hardens more slowly than standard wallpaper paste. Furthermore, its application demands rigorous preparation. Plasterboard, for instance, must absolutely be treated with a specific primer before the adhesive is applied to optimize bonding.
Notifying Your Landlord
While wallpaper can be hung on both tiled and untiled walls, using this modified adhesive has material consequences. On an untiled wall in a rental property, the exclusive or partial use of dispersion adhesive must be explicitly reported to the landlord. Its bonding power is so strong that removing the covering will be much more difficult and pose a risk to the original wall at the end of the lease. Removal requires patient soaking or chemical strippers; using a steam stripper is strongly discouraged as it further weakens the plasterboard's paper facing.
What Sanitary Issues Prevent Covering a Wall?
Before even opening the glue tubs, the wall's condition dictates the project's feasibility. Hiding a structural problem behind a strip of wallpaper will lead to substantial damage in the medium term.
Inspecting the Grout
Before wallpapering over old tiles or over plasterboard fixed to tiles, you must meticulously inspect the grout. The presence of small red or black spots, or discolored areas, clearly indicates a mold or mildew infestation. Small, localized problems can be effectively treated with specialized fungicidal products or commercial anti-mold treatments.
The Project's Red Line
However, there is an absolute technical limit. If tiles are damaged, peeling, or cracked, or if the grout is crumbling and deeply moldy, they must be removed so you can start from scratch. Camouflaging this deterioration under wallpaper or behind plasterboard is never an acceptable solution.
Owners vs. Renters: How to Cover Old Tiles
Wall tiles, which are inherently uneven due to their grout lines, require major intervention before any wallpaper can be hung. The method used depends directly on your right to modify the building. In rentals, tenants are generally only authorized to make easily reversible alterations. It is highly advisable to consult the landlord and obtain written consent before beginning any bathroom renovations.
Intervention Methods Comparison
| Intervention Method | Ideal Profile | Reversibility Level | Technical Focal Point |
|---|---|---|---|
| Adapted smoothing | Homeowner | None (permanent modification) | Requires sanding and priming |
| Dry-lining | Renter | High (removable at end of lease) | Drilling exclusively into the grout lines |
| Modified direct application | Renter (bare wall) | Low to medium | Consent required for dispersion adhesive |
The Smoothing Method: For Homeowners
When reversibility is not an issue, eliminating the texture of the tiles is the most straightforward approach. To wallpaper over tiles, the grout lines are first filled with an adapted smoothing compound (rather than standard tile grout). This material is then leveled out to create a perfectly uniform surface. The process continues with sanding the tiles, meticulous dust removal, and a thorough cleaning.
Once these tiles are smoothed, chemical preparation takes over. A penetrating primer must be applied, potentially with a second coat if the substrate is highly porous, ensuring it dries completely between applications. Finally, a lining paper is hung using dispersion adhesive to permanently eliminate any remaining irregularities.
Reversible Dry-Lining: For Renters
To bypass the restriction against damaging existing coverings, creating a new work surface is the preferred route. Fixing plasterboard panels over sound, existing tiles is a technique perfectly suited to rental properties. The original tiles remain intact behind the new wall, and the panels can be removed later without major damage. The essential technical trick is to ensure that the fixing holes are drilled exclusively into the grout lines to prevent the tiles from irreversibly cracking. Note that this method "brings the wall forward" into the room, which can pose challenges with existing plumbing and pipework.
FAQ: What Are the Limitations of Wallpaper in Wet Environments?
Can You Hang Wallpaper Inside a Shower Cubicle?
No. No ordinary wallpaper should be considered waterproof in an area exposed to direct water. Standard wallpaper is not suitable inside a shower or in areas regularly flooded, unless it is part of a waterproofing system specifically designed and certified for this purpose by the manufacturer.
Should You Favor Vinyl or Non-Woven Wallpaper in a Bathroom?
Vinyl is often preferred because its top layer naturally resists moderate water splashes and is easy to maintain. However, non-woven or standard paper offers excellent aesthetic alternatives, provided they are sealed with a clear latex glaze after hanging. Ultimately, the material itself matters less than the overall execution: durability relies on the combination of a sound substrate, modified adhesive, and a perfectly waterproofed finish.
Conclusion: Can Wallpaper Redefine the Interior Architecture of Wet Rooms?
Advances in the chemistry of primers and dispersion adhesives now allow us to break free from the all-tile look, thereby redefining the interior architecture of wet rooms. The bathroom can now embrace the decorative codes of the living room—provided the amateur DIYer scrupulously respects substrate preparation, ensures a sound wall, excludes directly wet zones, and, if renting, secures landlord approval.