Walk-In Showers
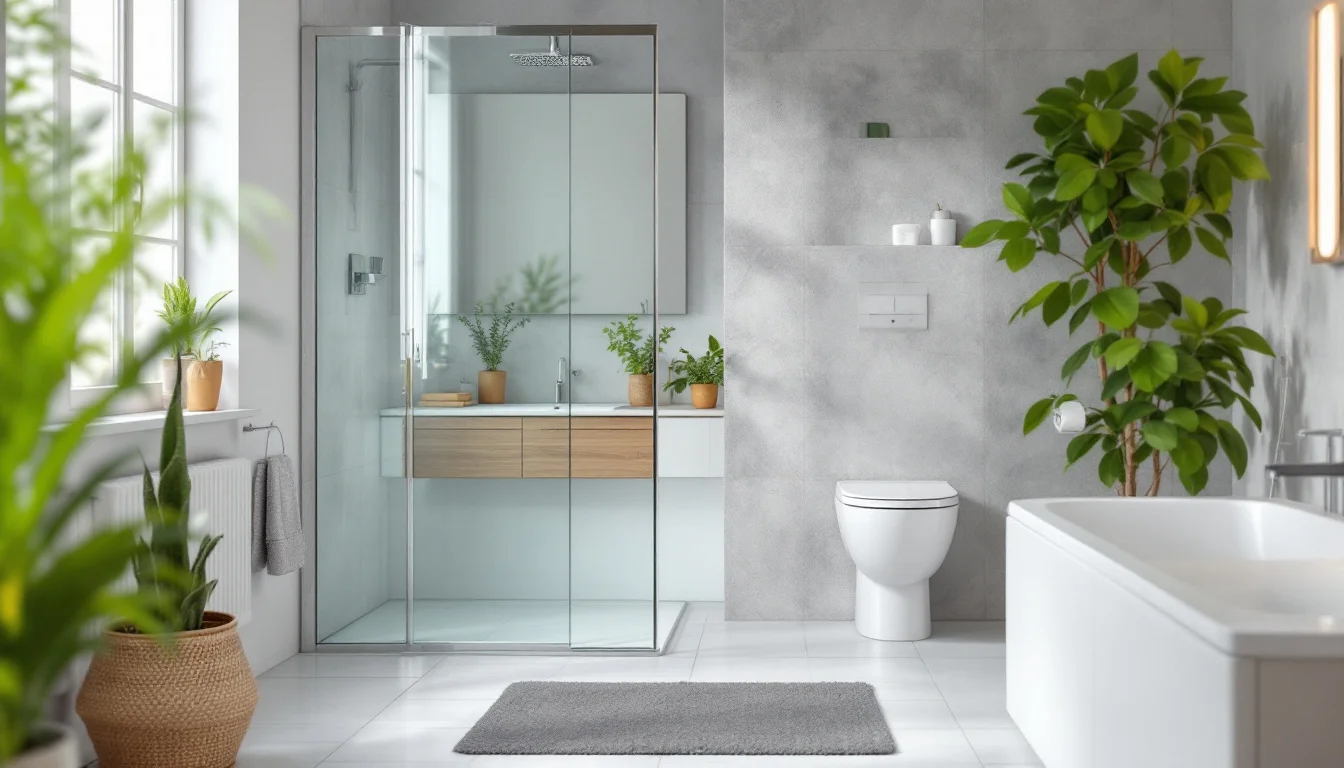
Designing a small bathroom often pushes homeowners to rethink the space to improve its flow. Among the preferred solutions, the walk-in shower stands out as a must-have aesthetic ideal. According to specialists at the Facq brand, a true walk-in shower is characterized by the absence of a raised tray and fully enclosed walls: the base is tiled and installed flush with the floor, featuring a slight slope toward the drain. This design eliminates visual breaks and instantly creates a sense of volume, even in a cramped room.
However, replicating this seamless architecture in a DIY project involves major structural challenges, particularly during renovations. Excavating a concrete floor isn't always an option. For DIYers, a successful project doesn't necessarily require heavy demolition. Instead, the secret lies in the art of compromise to work around the obstacle: an ultra-flat alternative or a cleverly disguised base are great options. Subject to an assessment of the existing structure and properly executed waterproofing, you can recreate the illusion of a genuine walk-in shower.
Key Takeaways
- The technical alternative: Floor constraints often mean avoiding excavation. An ultra-flat shower pan or building a raised base can recreate the "walk-in" effect.
- Minimum dimensions: It's recommended to allow for at least 90 cm in width; a 90 × 90 cm footprint is the best compromise for small spaces.
- Overall budget: A project like this requires a materials budget ranging from 1,500 to 5,000 euros, and demands strict adherence to drying times.
The DIY Dilemma: A True Recessed Shower or a "Fake" Raised One?
The main hurdle when installing a level-access shower lies in managing the water drainage. For a shower to be perfectly flush with the rest of the room, the plumbing must disappear beneath the surface. This technical challenge divides layout options into three main avenues.
Traditional Recessing
The classic method aims for absolute integration. The recessed pan sits directly in the floor, offering seamless continuity with the rest of the bathroom. However, this approach requires digging into the floor, which leads to much more substantial construction work. The thickness of the concrete slab or the presence of floor joists can make this excavation complex for a homeowner.
The Ultra-Flat Pan Alternative
An ultra-flat shower pan features a very low profile, generally ranging from 2.5 to 5 cm depending on the model. This thinness creates an almost imperceptible transition with the adjacent tile. It proves particularly easy to install and is ideally suited for renovations where ceiling height is limited, successfully preserving a minimalist aesthetic.
The "Fake" Raised Shower Method
When the existing drain is strictly flush with the floor, a clever workaround becomes necessary. A well-documented account on the Belgian DIY forum BricoZone, in the thread "Building a walk-in shower, for your eyes only," perfectly illustrates this approach. Faced with flush plumbing, one DIYer chose to build a base to create the required slope, successfully raising the shower by 5 cm. However, to ensure the strength and watertightness of such a structure, professionals recommend using truly rot-proof materials, such as specific tile-backer boards or aerated concrete, rather than MDF.
| Installation Type | Threshold Height | Masonry Level Required | Visual Effect Achieved |
|---|---|---|---|
| True recessed shower | 0 cm (flush) | Very high (floor excavation) | Perfect continuity |
| Ultra-flat shower pan | Generally 2.5 to 5 cm | Low to moderate | Almost imperceptible transition |
| "Fake" raised shower | Around 5 cm | Moderate (building a base) | Slight visual step-up |
This table summarizes the choices available to the renovator. The "fake" shower often constitutes the optimal balance between respecting structural constraints and the aesthetic ambitions of the project.
Configurations and Dimensions: The Art of Compromise in Small Spaces
Integrating an open shower into a tight space requires careful consideration of how volumes are organized. The shower's placement dictates not only the flow of foot traffic in the room but also the management of daily moisture.
The Alcove Configuration
Optimizing space often involves cleverly leveraging existing walls. The alcove configuration—meaning a shower installed in a space already framed by three walls, completed with a single glass panel on the open side—is touted as the most suitable solution for very small bathrooms. This setup transforms an unused nook into a functional enclosure, visually limiting the shower's footprint in the room. Plus, having only one glass panel to clean is a significant perk.
The Battle for Centimeters
In cramped bathrooms, there's a strong temptation to shrink the washing area to the bare minimum to save space around the sink or toilet. However, this logic often backfires on the user.
Excessively reducing the shower's size is counterproductive in the long run. For an open corner shower, an 80 cm width can lead to splashing all over the rest of the bathroom. A washing area that's too narrow forces water to bounce off the body and escape beyond the waterproofed zone. That's why it is recommended to plan for a minimum width of 90 cm to curb this issue. Ultimately, in a small bathroom, a standard 90 × 90 cm footprint strikes an excellent balance between user comfort and overall space optimization.
The 4 Technical Pillars of a Leak-Free DIY Project
A flawless visual finish is useless if the infrastructure hides technical weaknesses. DIY builders must focus their efforts on four critical aspects of plumbing and masonry to ensure the longevity of the installation.
1. Strict Slope Management
Water must drain naturally and quickly to prevent pooling. According to standard professional recommendations, the floor slope of a walk-in shower generally falls between 1% and 3%, with 2% often being the sweet spot. Practically speaking, a 2% to 3% slope translates to a height drop of 2 to 3 cm per meter. Adhering to this incline is paramount: too shallow a slope will cause overflowing, while too steep a slope makes it uncomfortable to stand on.
2. Proper Drain Sizing
A flush or ultra-flat pan is unforgiving of sluggish drainage. Standard professional practices recommend that the drainpipe diameter for a walk-in shower be at least 40 mm, and ideally 50 mm, to prevent any risk of flooding. When it comes to water collection, the market offers two drainage systems: the classic floor drain or the linear shower trench (also known as a channel drain). The linear drain, often considered more decorative, generally provides a higher flow rate, which adds a significant layer of safety to flat configurations.
3. Securing Concealed Plumbing
Connecting fixtures behind a wall requires specific precautions to avoid invisible micro-leaks. One experienced DIYer recommends planning for water outlets that sit perfectly flush with the wall surface. However, for concealed pipes, professionals strongly advise opting for connections that are more reliable in the long run, such as crimp fittings or multilayer pipes with sliding sleeve fittings. This technique limits weak points within the wall's thickness, making it easier to install surface-mounted fixtures while minimizing the risk of internal seepage.
4. Absolute Substrate Waterproofing
Capillary moisture penetration is a bathroom's worst enemy. Since grout lines are never completely waterproof, the true barrier must lie underneath. It is crucial to use a waterproofing membrane that extends at least 10 to 15 cm up the base of the walls. In addition to this membrane, it is highly recommended to apply a liquid waterproofing underlayment like "Mapegum" (or an equivalent product) over the entire floor surface as well as on the walls, from the base right up to the top of the splash zone. This dual protection creates an indispensable watertight seal.
Budget and Time: What to Expect in a DIY Build?
Tackling a walk-in shower build yourself allows for serious savings on labor, but quality materials remain a fixed investment. A walk-in shower is accessible across various budgets, generally ranging from 1,500 to 5,000 euros. This amount varies based on the chosen finishes, the quality of the linear drain, and the type of glass enclosures.
The time factor must also be anticipated. A project like this isn't wrapped up in a mere weekend. The firsthand experience of one DIYer indicates that building a "fake" walk-in shower (with drains sitting flush to the floor and a raised base) takes about a short week of work. This timeframe is driven by the mandatory drying times between the various stages: curing of the base, applying and drying the waterproofer, setting of the thinset mortar, and finally, the curing of the epoxy or silicone grout.
Conclusion: Beyond Aesthetics, a Future-Proof Design
The time and energy dedicated to the technical design of a level-access shower go far beyond the simple satisfaction of sleek aesthetics. By eliminating floor obstacles, this layout proactively anticipates the evolving needs of the household. A bathroom free of high step-overs makes it much easier to adapt to future accessibility requirements (such as for individuals with reduced mobility).