The Art of Installing a Wood Floor
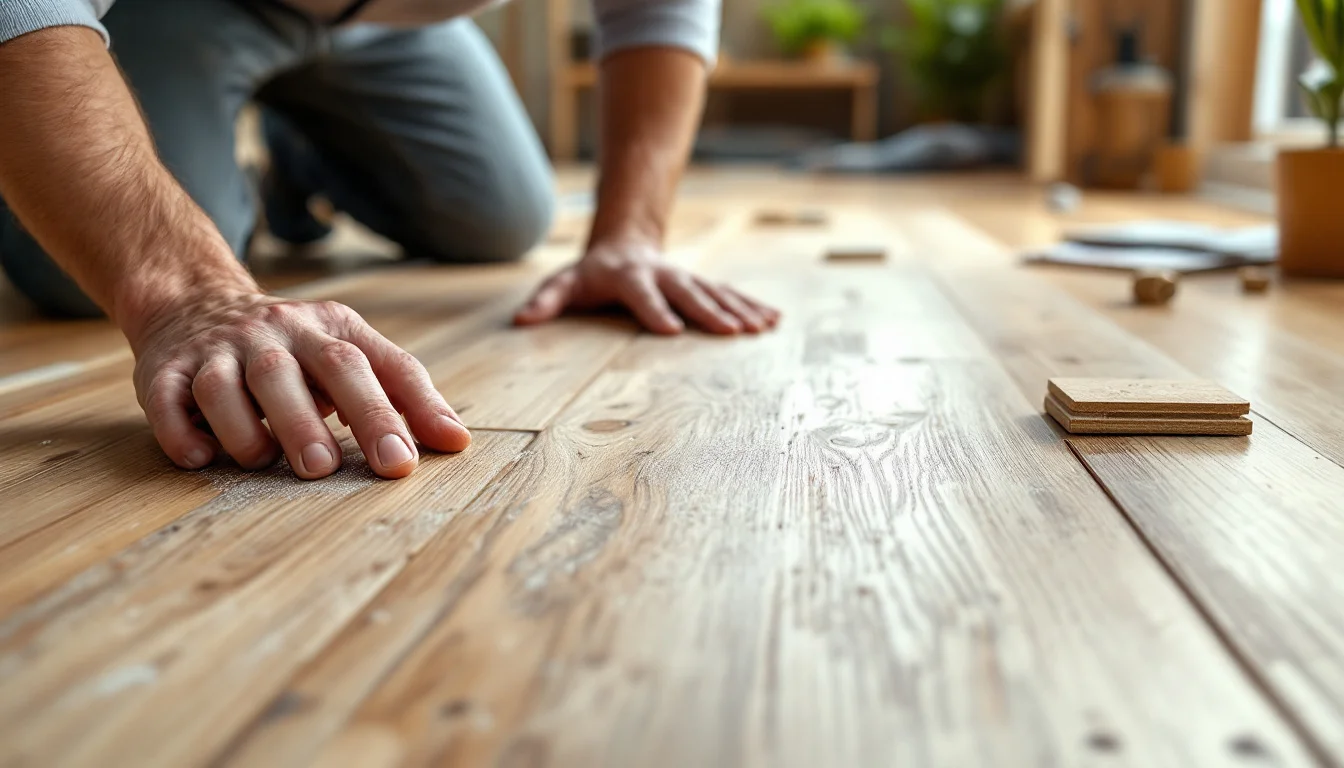
Floating installation is known for its great accessibility and cost-effectiveness. Whether you are in the midst of a new build or a full interior renovation, this method stands out, according to Parquets Protat. Unlike traditional methods, a floating floor is never attached directly to the subfloor: the planks simply click together or are edge-glued. This fundamental principle of decoupling allows the floor to shift and move naturally throughout the seasons.
Key Takeaways
- The safety margin: Always factor in an extra 10% of flooring.
- The time investment: Allow about 5 hours of labor for a standard 20 m² room.
1. Choosing the Right Flooring
Match the flooring type to the specific demands of the room.
| Flooring Type | Moisture Tolerance | Pet Resistance |
|---|---|---|
| Standard Laminate | Very Low | Optimal |
| Engineered Wood | Very Low | Moderate |
| "Aqua" Laminate | High | Optimal |
| Hybrid Flooring | High | Low |
Managing Wet Areas
Standard laminate and traditional engineered wood are generally not recommended for wet areas like bathrooms or laundry rooms. These basic materials simply aren't suited for steam-heavy environments. To achieve a wood aesthetic in a bathroom, it is best to opt for "Aqua" laminate ranges, which are specifically engineered to withstand humid conditions.The Pet Factor
Traditional laminate is the most suitable flooring for dealing with claws and the sudden sprints of pets. While hybrid floors are waterproof and generally durable, they hold up less effectively against the boundless energy of domestic animals.Adapting to Different Room Profiles
Beyond bathrooms, other spaces impose specific constraints. In kitchens, where floors are frequently subjected to impacts and liquid spills, it is essential to choose a highly water- and scratch-resistant material. Similarly, in a child's playroom, scratch resistance takes precedence. Conversely, for an adult relaxation space, prioritizing the authenticity of natural wood flooring is perfectly appropriate. Finally, for commercial spaces, floating laminate flooring can create a warm and sophisticated atmosphere, provided you select a range capable of withstanding heavy foot traffic—and ensure the product is rated for commercial use.2. Visual Strategy: Which Direction Should Your Planks Run?
Plank orientation profoundly alters the spatial perception of a room. It directly depends on natural light sources and the home's architecture.
Playing with Light and Volume
Generally speaking, running the planks lengthwise makes the space appear much larger.To finalize your decision on the installation direction, you must simultaneously consider the space, lighting sources, and overall decor. The best way to decide is to dry-lay the floor—arranging the planks without locking them in—so you can concretely visualize the final result before committing.
Ensuring Architectural Cohesion
Managing large spaces requires a comprehensive approach. On the ground floor, it is highly recommended to run the floating floor in the same direction across all connecting rooms. This visual continuity erases boundaries between different living areas and creates an immediate sense of harmonious cohesion.When working in a large open-plan space, the rule is refined. For these layouts, you can install the planks parallel to the longest walls to amplify the sense of depth. This interior design trick enhances generous volumes while establishing a natural flow of traffic. Think of your flooring as a standalone architectural tool, capable of correcting a floor plan's flaws or elevating its best qualities.
3. Execution: Preparation (Subfloor and Underlayment)
The longevity of your new floor is determined before the first plank is even laid. Subfloor preparation demands absolute precision, as floating floors are unforgiving of major structural irregularities.
Subfloor Requirements
Floating installation, whether using click-and-lock planks or a classic edge-glued model, offers excellent versatility. It can be installed over many existing surfaces: old wood floors, tiles, or a concrete screed. The single non-negotiable technical requirement is that the subfloor must be perfectly level.If the subfloor has minor irregularities, a thicker underlayment can help smooth them out. However, for significant level differences, applying a self-leveling compound before laying the floor is imperative; an underlayment alone cannot compensate for major unevenness. Typically, installing an underlayment serves several vital functions: it absorbs impact noise, protects the wood from rising damp, and acts as an effective thermal barrier.
The Technical Exception and Absolute Cleanliness
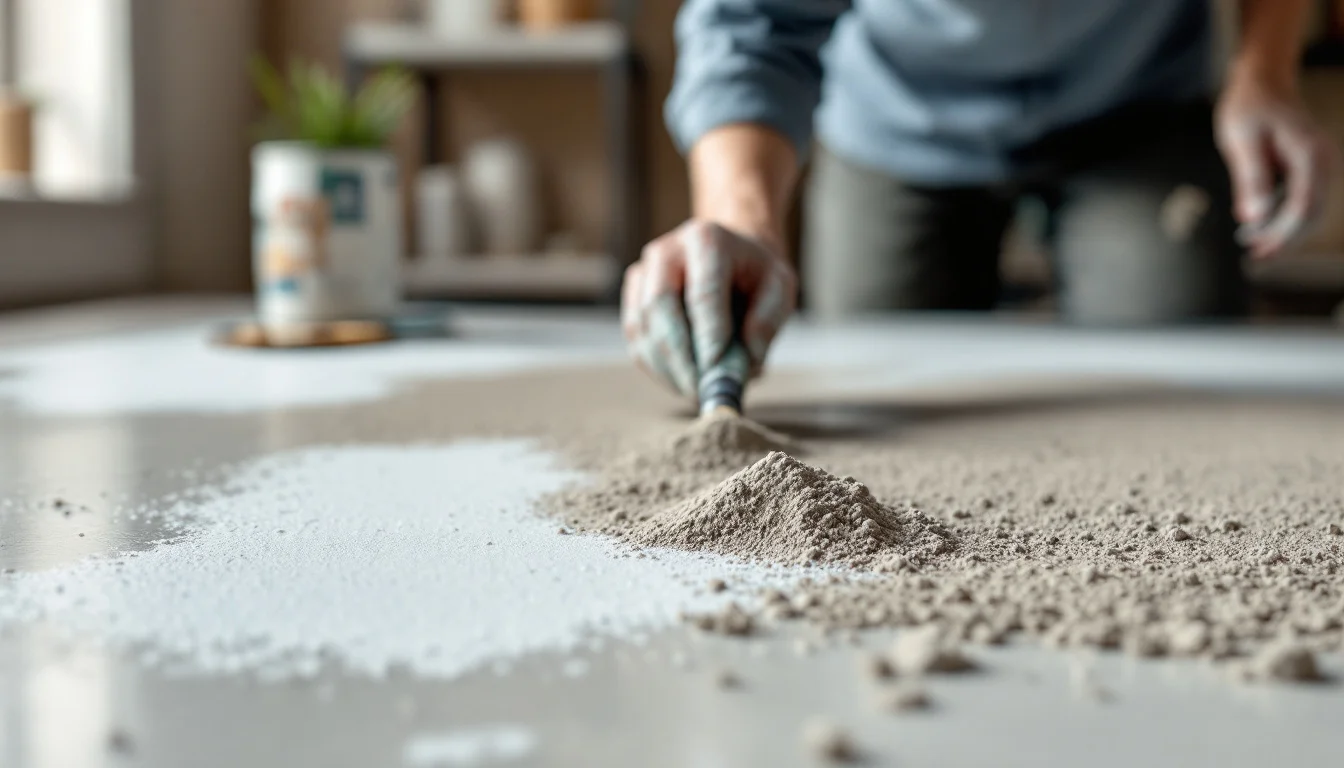
It is important to highlight an essential rule in renovation. Laying a floor directly over old carpet, even low-pile variants, is strongly discouraged, as the lack of stability compromises the planks' locking mechanism. Therefore, it is highly recommended to remove it beforehand.Finally, the surface condition is critical. The installation area must be clinically clean, flat, and perfectly smooth. The presence of mere grains of sand or tiny pebbles can severely damage the mechanical joints of interlocking planks. A single micro-debris trapped in the profile prevents proper locking, creates surface unevenness, and weakens the entire row.
4. The Installation Process: Spacers, Chalk Lines, and Expansion
Once the subfloor is approved and cleaned, the project can begin. This method requires having all your tools at hand before starting the assembly.
The Essential Tool Checklist
Materials to prepare include:- Underlayment (in rolls or tiles, with thickness dictated by the subfloor's evenness).
- Waterproofing tape to seal the underlayment seams (a crucial step, especially on concrete screeds).
- Flooring planks, baseboards, and threshold strips.
- Wood flooring adhesive (only if you opt for a traditional edge-glued floating floor).
- Expansion spacers.
- Floor protection for when the job is done.
- Specific installation and cutting tools: a mallet, a tapping block, a pull bar, a saw, as well as a square, a tape measure, and a fine pencil.
Analyzing the Time and Material Ratio
Professionals estimate that about 5 hours of work are required to install a floating floor in a 20 m² room. This ratio doesn't just reflect the time spent snapping planks together in the center of the room. It accounts for the time spent navigating wall geometry. Indeed, it is imperative to start from a right angle or, if the room lacks a perfect right angle, to use a chalk line to snap a reference point.This geometric friction also explains why it is universally recommended to purchase an extra 10% of flooring beyond the measured surface area. To correctly calculate this initial area, simply multiply the length by the width of the room if it's square or rectangular. For a complex-shaped room, just break it down into several regular zones and add those areas together. This extra margin serves to absorb the inevitable offcuts around the perimeter and the precise adjustments needed around door frames.
Mastering Expansion
The installation process always begins with rolling out the underlayment. Then comes the most critical point of the operation: placing the spacers.Expansion spacers must be placed between the flooring and the perimeter walls. They ensure a uniform gap all around the room. This void is vital to allow the wood to expand later on due to temperature and humidity variations. The absence of these expansion gaps can lead to plank buckling—a phenomenon where the floor swells and irreparably warps as it presses against the walls.
Conclusion: A Living Floor, A Lasting Mindset
Installing a floating floor directly confronts the DIYer with the living nature of building materials. A floor unhindered by glue or nails will inevitably react to the seasons, contracting in winter and expanding in summer. Grasping these invisible forces by means of a perimeter expansion gap provides an excellent practical lesson in the thermal behavior of buildings. Once this logic of decoupling is understood, it profoundly changes how you approach other finishing work, paving the way toward home renovations that truly respect material physics.
The day-to-day maintenance of this living floor is equally pragmatic: a barely damp mop, wrung out to the maximum, is all you need for routine cleaning. For specific incidents, the treatment adapts: you should vacuum first, then use a wood cleaner with a microfiber cloth to erase heel marks. For pen marks, a spray-on cleaner followed by a damp wipe once dry proves highly effective. Finally, in the event of liquid spills, the golden rule is to dry the area immediately before applying a parquet cleaning spray, thereby ensuring the longevity of your installation.