How to Paint Trompe-l'Œil Cement Tiles on an Ordinary Floor
On the Belgian DIY forum BricoZone, one homeowner shared a dilemma familiar to many: what should you do with a 100-year-old stained cement tile floor spanning roughly 33 square meters across a living room and kitchen? While this type of period flooring has undeniable historical charm, it is often considered far too dark for today's standards of bright and airy interiors. Faced with this issue, the temptation to cover or paint the surface is strong, especially since it avoids the hefty costs of a complete demolition.
However, transforming a dark floor into bright, faux tiles isn't as simple as buying a stencil and a roller. While painting geometric patterns sounds appealing and easy on paper, the reality of the project is quite different. Application mistakes quickly lead to unsightly bleeding and smudges. Pulling off a convincing trompe-l'œil requires letting go of the illusion of a quick fix. Instead, it calls for a meticulous approach, including a strict assessment of the surface, a mixed-technique painting method, and a technical understanding of resin curing times.
Key Takeaways
Before diving into your floor renovation, here are the fundamentals of this technical approach:
- Chemical viability: Not all floors can be painted. Wax-impregnated surfaces will categorically reject paint without prior stripping.
- Project sequence: Floor painting should always be your final step, only after finishing the ceilings and walls.
- The three-coat protocol: A floor absolutely requires a primer, an opaque topcoat, and a protective clear sealer.
- The mixed technique: Rolling paint directly over a stencil can cause bleeding; it's best to outline the design first and then fill it in with a brush.
- Curing time: The final mechanical resistance of a painted floor is only achieved after a curing period that varies depending on the resin used.
Can You Paint Waxed or Lotus-Effect Tiles? (Assessing Your Floor)
The very first step in any floor-painting project is verifying the chemical compatibility of your current surface with the renovation products. A trompe-l'œil failure often begins before you even open the first can of paint, simply because the surface rejects adhesion.
Based on the floor types outlined by MissPompadour, we've put together the following table to help determine your project's viability:
| Flooring Material | Feasibility Status | Primary Constraint |
|---|---|---|
| Smooth tiles and stone floors (including basement floors) | Easy | Requires rigorous washing and degreasing, often followed by light sanding for grip. |
| Terracotta tiles and impregnated materials | Possible after stripping | The protective layer, usually made of wax, blocks adhesion and requires prior chemical or mechanical stripping. |
| Lotus-effect tiles or similar coatings | Impossible as-is | The closed-pore surface repels paint and completely prevents adhesion. |
A quick look at this table shows that interior stone floors and smooth tiles are generally among the easiest to paint. Conversely, open-pore tiles that have been treated with wax require prior chemical or mechanical stripping (using a wax remover or light sanding), as no paint will stick directly to this protective layer. Similarly, paint will just slide right off lotus-effect tiles. It is also crucial to note that long-term use of cleaning products with waterproofing properties can cause significant adhesion issues.
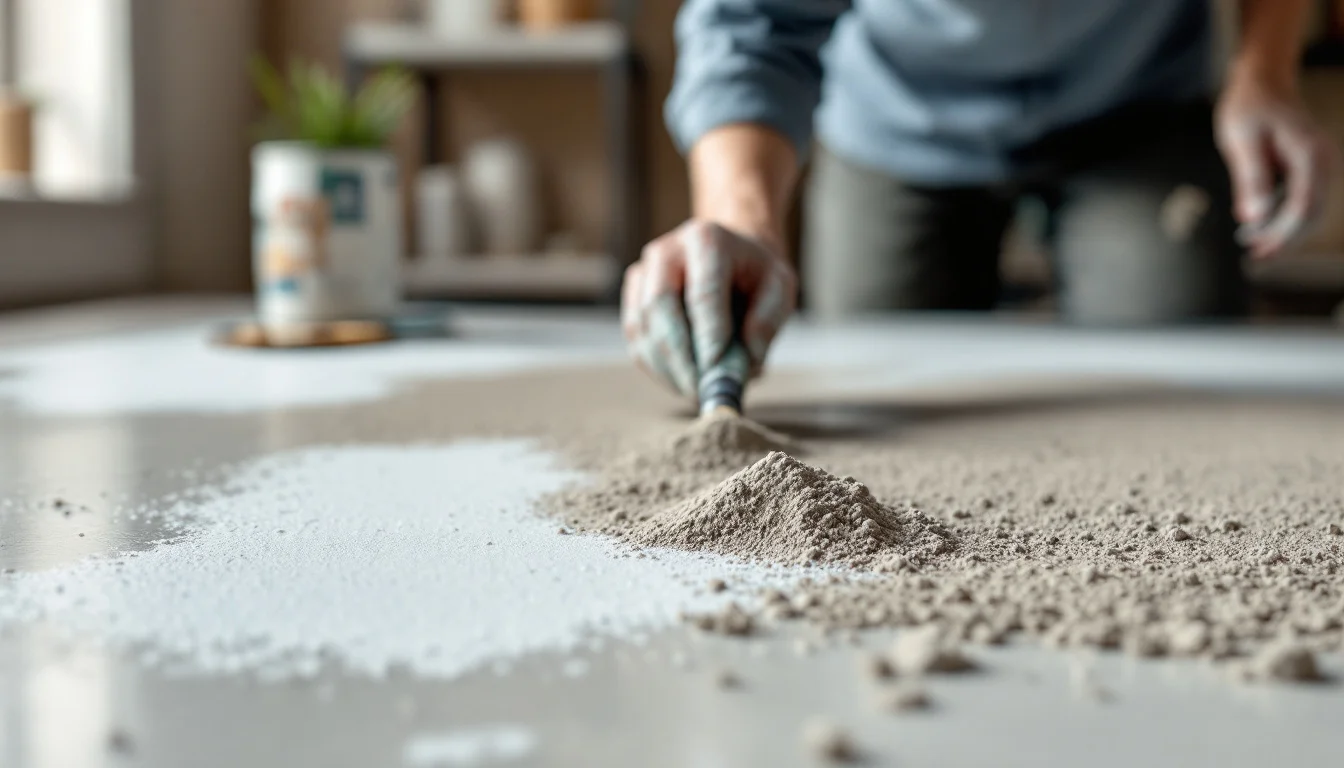
When it comes to mechanical preparation, the approach varies depending on the texture. On smooth tiles, while a simple degreasing wash might be enough to remove oily residues in ideal cases, a light scuff-sanding is highly recommended to improve the primer's mechanical grip. This degreasing step is vital for ensuring a chemical bond between the old flooring and your new primer. If you have any doubts about your floor's composition or the paint's adherence, always test it out on an inconspicuous area before tackling the entire room.
Structuring the Layers: From Primer to Curing
Once your surface is tested and washed, the spatial and temporal organization of your project takes over. The golden rule for a complete room renovation is to work from top to bottom: always tackle the ceiling first, move on to the walls, and save the floor for last. This logical sequence ensures you don't ruin a freshly painted floor with stray splatters from above.
The Three-Part Protection System
Since a floor is constantly subjected to heavy mechanical stress (frequent foot traffic, friction), your paint job needs to be structured as a technical, multi-layered system. We recommend applying the paint in three distinct stages:
- A primer (or undercoat) to establish grip.
- The paint (or topcoat) for pigmentation and coverage.
- The clear sealer (or polyurethane finish) for the final protective barrier.
Managing Drying Times
Patience is the real driving force behind this technique. Applying your base color (the solid background prior to stenciling) requires a specific rhythm. Two thin, even coats of paint are generally enough to achieve perfect coverage. However, a third coat may be necessary in some cases, particularly when applying very light colors over a dark background.
Between each coat, you absolutely must respect the recommended drying times based on the product specifications and ambient conditions (temperature, humidity, ventilation). Trying to speed up the process by slathering on thick coats will only weaken the paint structure, making it vulnerable to future impacts and peeling.
How to Avoid Stencil Bleed on Floors
This is where the reality of DIY often clashes with high-speed internet tutorials. The traditional method—laying down a stencil and rolling paint over it—often leads to major disappointment when applied to floors.
The Roller Failure and the Manual Solution
The specialty design blog Atelier des Tilleuls documented this exact process during a bathroom renovation. Initially, the author painted her entire floor a very light gray using V33 paint (specifically Déco Lab Pearl Gray Satin), applied with a small foam roller to create a clean, solid base.
However, when it came to the pattern, applying paint directly over a cardboard stencil with a foam roller yielded disastrous results: the paint seeped under the stencil, creating messy smudges and blurred edges (a phenomenon known as bleeding). To achieve crisp lines, the author pivoted to a mixed approach: tracing only the outlines through the stencil with a very fine tool, removing the template, and then carefully filling in the shapes by hand with a fine brush.
Logistics and Pattern Scaling
This technique demands specific logistical preparation. The tiles in the author's shower room measured 15 x 15 cm. It was imperative that the stencil template be printed to the exact dimensions of the tiles being decorated, ensuring the visual illusion aligns perfectly with the existing grout lines.
Furthermore, if you're using ordinary cardboard stencils, it's highly recommended to cut several backups. Cardboard deteriorates quickly after multiple paint applications, as moisture soaks into the material and warps the edges. To avoid this hassle, it's far better to opt for durable alternative materials like Mylar or acetate.
The Trick for a Natural Finish
A successful trompe-l'œil shouldn't look like factory-printed wallpaper. To vary the finish and mimic the subtle inconsistencies of genuine vintage cement tiles, the author alternated between two fill colors: a satin slate gray, and that same slate gray mixed with a touch of pearl gray. Finally, to break up visual repetition, she rotated her stencil 90 degrees every other tile during tracing, creating a much more organic pattern.
How Long Before You Can Walk on a Painted Floor? (Protection and Curing)
Once your patterns are meticulously hand-painted, the question of their longevity arises, especially in harsh environments like wet rooms. It's precisely here that we see a divergence between strict manufacturer guidelines and the ingenious workarounds discovered by everyday renovators in the field.
On one hand, manufacturers clearly stipulate that surfaces prone to standing water—like shower floor tiles or exterior patios—should not be painted with water-based formulas due to the risk of peeling. On the other hand, the Atelier des Tilleuls experiment proves you can bypass this vulnerability with a final sealing step. By applying a clear resin topcoat, the paint becomes resilient enough to withstand the ambient humidity and frequent foot traffic of a bathroom. However, while this sealer offers excellent protection against splashes, it doesn't make the surface entirely immune to standing water. That's why painting a shower floor remains an experimental endeavor: while the immediate aesthetic result is gorgeous, the practice is logically not recommended by manufacturers since long-term durability against immersion cannot be guaranteed.
The Final Sealing Protocol
Applying this protective varnish (or sealer) demands an inflexible timeline. After painting the final layer of your pattern, you absolutely must let it dry for 24 hours before brushing on the clear coat.
Even after the clear resin is spread, the project isn't chemically finished. You have to factor in a waiting period that varies by product (some reach peak resistance in 7 days, while others require up to 28 days) for the floor to fully cure and be ready for normal use. Walking on it in shoes, dragging heavy furniture back into place, or letting water sit on the surface before this full polymerization window risks permanently denting resin that hasn't cured to its core.
Frequently Asked Questions (FAQ) About Trompe-l'Œil Floors
How do you repair a pattern damaged by a deep scratch?
Despite taking every precaution, accidents happen (like dropping a heavy object or dragging unpadded furniture). While the paint structure is designed to be durable, severe mechanical aggression will leave a mark on the resin. Fortunately, the fix is highly localized: scratches and imperfections can be repaired by lightly sanding the affected area, then touching it up with a fine brush using the original paint colors.Does the protective topcoat require long-term maintenance?
Yes, a sealer doesn't last forever. The micro-friction of daily life gradually wears down the protective resin. The lifespan of your faux cement tiles can be significantly extended by reapplying the clear varnish over the entire surface at the first sign of wear and tear—long before the pigmented paint underneath is exposed to damage.Conclusion: An Investment in Patience, Not Money
Opting for a hand-painted trompe-l'œil floor offers substantial financial savings compared to ripping out an old slab. However, this method simply shifts the investment: what you save on masonry materials, you pay for in hours of rigorous application and weeks of curing time. The real question for homeowners is no longer whether the paint will hold up, but whether they are willing to give the project the curing time that chemistry demands to transform a simple coat of color into a truly functional floor.