Renovating a Wooden Staircase: The Technical Guide
A staircase isn't just an accent piece you can impulsively repaint on a Sunday afternoon. As the true backbone of the home, it's a high-traffic area subjected to intense mechanical stress, enduring an average of 20 to 30 trips a day for a standard family. Giving it a makeover goes far beyond simple interior decoration; it involves structural resilience and financial trade-offs.
Faced with faded wood or peeling varnish, painting often seems like the most accessible solution. However, this project demands a rigorous approach to prevent the new finish from chipping away in a matter of months under constant foot traffic. From chemically neutralizing wood tannins to the complex logistics of a two-tone paint job, every step matters. This guide breaks down the real challenges of staircase renovation in Belgium, comparing the reality of a do-it-yourself project with the return on investment of hiring a professional.
Key Takeaways
- The budget breakdown: A professional renovation for a standard staircase ranges from €826 to €1,660, whereas a DIY project cuts costs down to just the materials, running between €50 and €150.
- The myth of easy fixes: So-called "no-sand" paints require a flawless surface; otherwise, mechanical prep remains essential to prevent peeling.
- The alternative: If the underlying surface is too damaged, PVC stair overlays offer a quick, one-day masking solution.
Wood Chemistry and the "No-Sand" Paint Myth
The promise of an effortless, express renovation floods the aisles of home improvement stores. Yet, the reality of a staircase project quickly runs into unavoidable chemical imperatives that must be anticipated to ensure the coating lasts.
The Problem with Tannin-Rich Woods
Certain types of wood have a specific chemical composition that interacts with modern finishes. Tannin-rich species like oak or chestnut absolutely require a specific stain-blocking primer. Without this barrier layer, natural tannins can bleed through the new paint over time, creating unsightly yellow stains that completely ruin white or light-colored finishes.
Acrylic vs. Oil-Based Paints
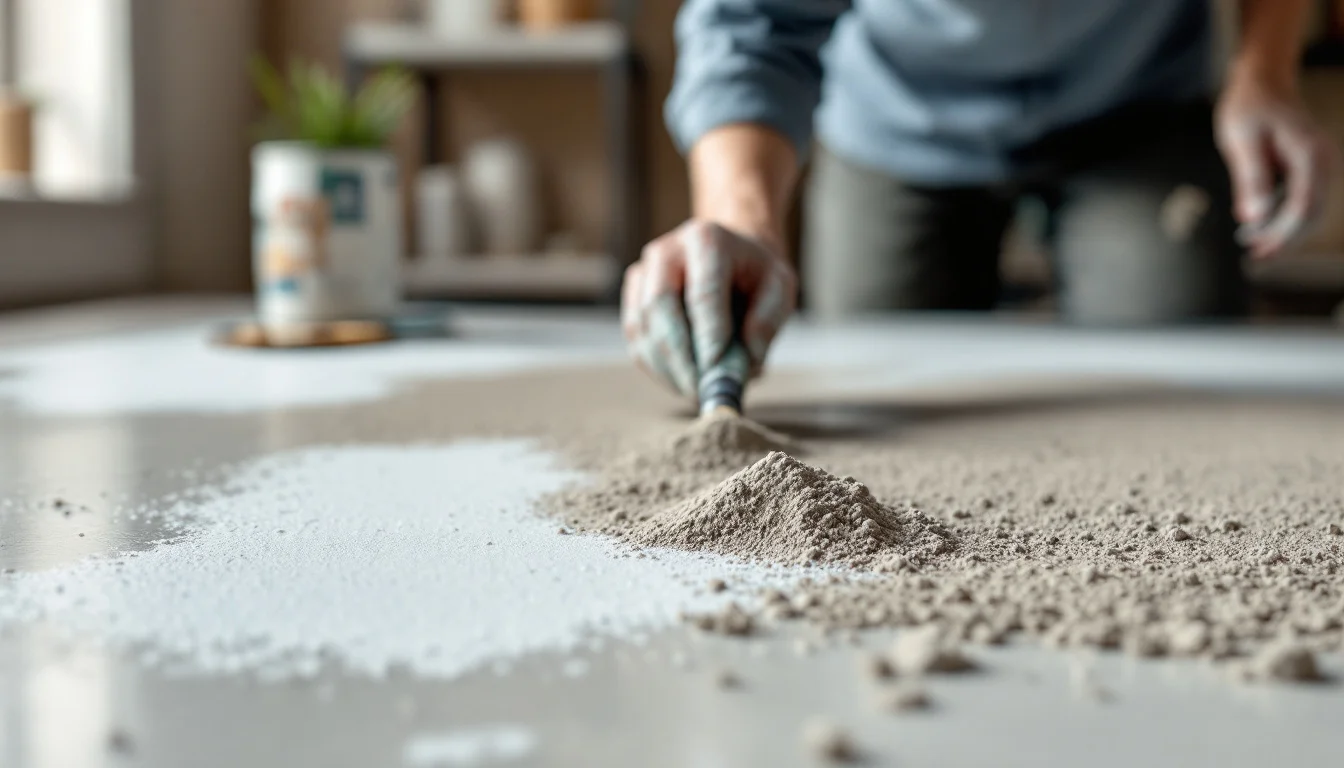
Layering different generations of paint is another major sticking point. For an already painted staircase, surface preparation is indispensable: without prior sanding and degreasing, the new paint will quickly peel off. Starting with a coarser grit (40 to 80) before finishing with a 120 or 150 grit is often recommended to properly prep the surface and improve adhesion. If the old finish is oil-based (glycero) and you want to switch to a water-based (acrylic) formula, applying a bonding primer is mandatory to prevent chemical incompatibility between the two resins.
The Limits of "No-Sand" Products
The idea of painting directly over the old finish isn't entirely false, but it comes with strict conditions. Painting a staircase without sanding is only technically possible if the existing varnish is still perfectly intact, well-adhered, and entirely free of peeling. In this specific scenario, you must use a special adhesive paint for varnished wood and perform an exceptionally thorough degreasing. Failing to meet these strict conditions means even a paint marketed as "no-sand" will eventually flake off under the weight of foot traffic.
Two-Tone Stairs: Managing Tape Without Re-Masking Everything
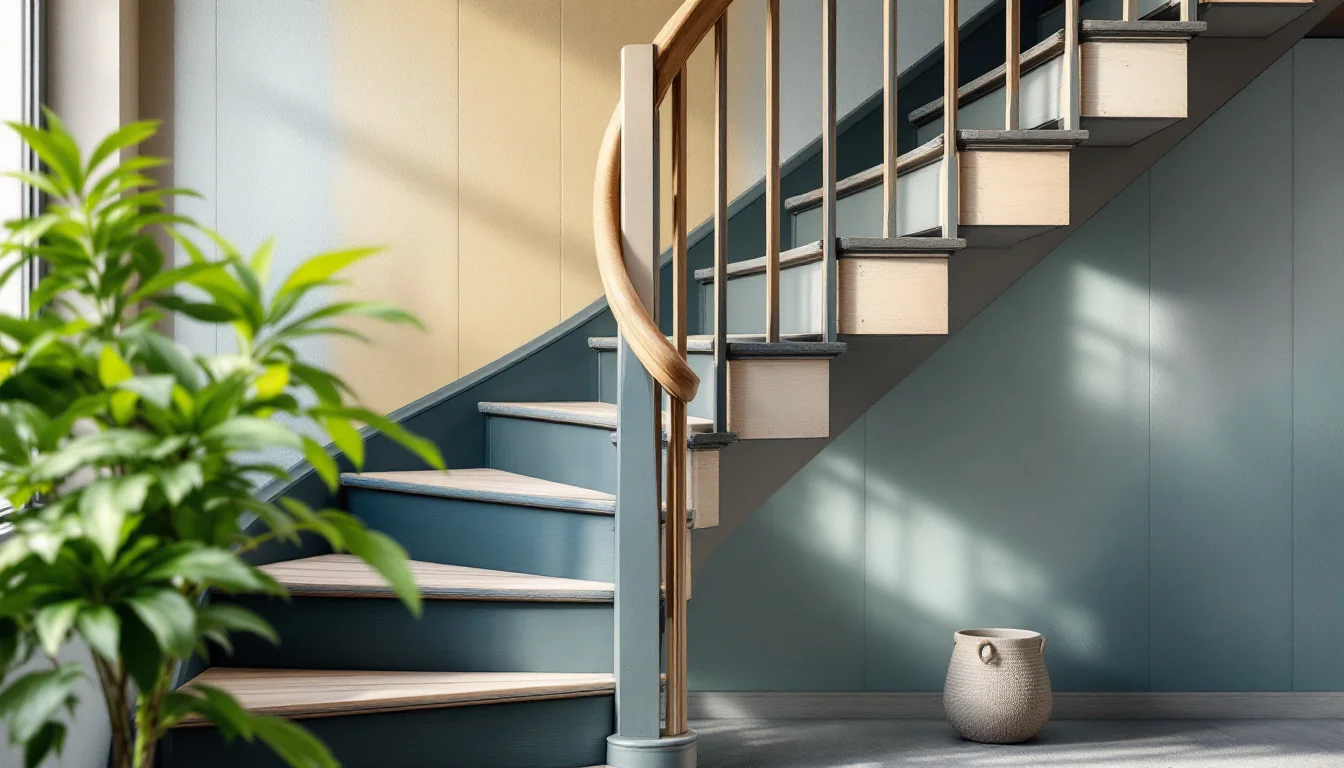
The style combining white risers with natural wood treads is a highly sought-after classic. However, executing this look creates logistical challenges that simplified tutorials often conveniently leave out.
Feedback from DIY Forums
Questions surrounding this specific finish are abundant online. According to a documented exchange on the Belgian forum BricoZone, a DIYer looking to create a two-tone staircase (white risers and stringers, with stained or varnished light oak treads) expressed how difficult it was to find an effective method. His main goal: avoiding having to tape off all the stairs twice for fear of leaving varnish marks on the freshly applied white paint.
Furthermore, this same user noted reading on the forum that a varnish or sealer applied over paint could yellow depending on its formulation—an anecdotal piece of information from user discussions, not verified by an official technical source. This fear of yellowing explains homeowners' stubborn desire to strictly compartmentalize product application without any overlap.
Sequencing the Operations
To solve this puzzle, properly sequencing the operations is key. It is advisable to paint every other step, then wait 24 to 48 hours before tackling the remaining ones. This technique, although time-consuming, ensures the stairs remain usable (keeping the upper floor accessible) during the long drying times. On the flip side, it requires meticulous precision when placing painter's tape, which must be carefully moved and reapplied as the drying days progress.
Trade-offs and ROI: The €150 DIY vs. The Professional
The choice between doing the work yourself or hiring a craftsman boils down to more than simple subtraction. It's about evaluating the longevity of the intervention against its initial cost.
Long-Term Cost-Effectiveness
A data analysis highlights structural differences between the two approaches.
| Comparison Criteria | DIY Project (Materials Only) | Professional Intervention |
|---|---|---|
| Estimated initial cost | Between €50 and €150 depending on product range | Between €826 and €1,660 |
| Project scope | Purchase of paint and tools | 14 treads, risers, and balustrade |
| Estimated durability (20-30 trips/day) | Varies by traffic and product (specialized floor paint) | Superior, thanks to professional standards (floor sealer) |
This raw financial gap must be put into perspective with long-term wear and tear. The lifespan of a specialized floor paint, even when properly applied by a DIYer, heavily depends on the wood species, surface prep, and traffic intensity on a standard family staircase. Under the same conditions, a professional-grade sealer offers significantly longer peace of mind. The immediate savings of doing it yourself often means accepting a higher frequency of touch-ups and renovations down the road.
The Structural Alternative: When to Opt for Self-Adhesive PVC?
In some cases, the very structure of the wood is too compromised or pitted with dents, or multiple layers of lead paint and old adhesives make sanding dangerous or painstakingly laborious. When faced with a surface that no longer provides the necessary foundation for a long-lasting paint job, aesthetic renovation requires physical masking.
An appealing alternative exists: self-adhesive PVC stair overlays. Available at general hardware stores like Brico or Gamma, these elements cost anywhere from €10 to over €60 per step, depending on quality, size, and brand.
Their main advantage lies in how easy they are to install. You can fit them yourself in a single day, directly over the old treads, without needing extra glue or specialized tools. This approach bypasses any chemical incompatibility issues linked to old varnishes, providing a seamless surface that is ready to use immediately.
Frequently Asked Questions (FAQ): Successfully Renovating Your Staircase
What budget should I expect for painting a 14-step staircase?
A professional intervention in Belgium for a standard 14-step staircase, including risers and a balustrade, will cost between €826 and €1,660. Conversely, buying the materials for a DIY project will set you back between €50 and €150.How long should I wait between coats for a two-tone staircase?
When painting every other step to maintain access to the upper floor, you should allow 24 to 48 hours of drying time before working on the remaining treads.What specific tool should be used to cut in the riser corners?
Standard rollers struggle to reach the tight angles where the tread, riser, and stringer meet. Using a cutting-in brush (a round brush with a pointed tip) is highly recommended for precisely applying paint into these narrow crevices before smoothing out the flat surface with a gloss roller.Will the painted finish make the stairs slippery in socks?
Smooth, film-forming paints can indeed reduce the grip of your stairs. To minimize this risk, it's common practice to mix anti-slip additives (like silica microbeads) into the final topcoat, or to apply textured transparent adhesive strips to the stair nosing once the paint has completely cured.Conclusion: Beyond Color, Rethinking Space
Tackling a staircase renovation fundamentally alters how space is perceived in a home. By brightening the tones or playing with contrasts between treads and risers, natural light flows differently through the entryway. Beyond the physical effort and the financial investment, this technical upgrade ultimately enhances the architectural beauty of your home's interior.