Installing Wall Paneling to Add Character to Your Hallway
Key Takeaways:
- Slatwalls elongate perspective, making them a perfect fit for modern or Scandinavian interiors.
- Half-wall paneling (wainscoting) offers excellent protection against scuffs and impacts while providing an opportunity to add functional storage.
- Acclimation times vary by method: unpack boards for 24 hours for glued installations, or leave them sealed in the package for 48 hours for batten frameworks. Protocols differ based on the product—always check the manufacturer's instructions.
- To guarantee a stable installation, the substrate's moisture level must remain within the manufacturer's accepted thresholds (which vary depending on materials and measuring methods).
The hallway is no longer just a mere passageway. Though often overlooked, this transitional space endures heavy daily traffic: brushing coats, bumping gym bags, and scuffing shoes. Installing wood paneling in this area is more than just a decorative choice; it's a highly strategic interior design decision.
Wood paneling installed on the lower half of a room serves as a highly effective wall shield. This type of covering stands up well to dirt and impacts while remaining remarkably easy to clean.
Beyond its function as a mechanical shield, wood can completely redefine the volume of a space that is often narrow and starved of natural light. By playing with the orientation of lines, the spacing of battens, or the depth of the panels, you can trick the eye and reshape the perspective. This guide explores the mechanics behind this interior transformation, from selecting the right design to safely handling electrical installations.
Which Visual Effect is Best for a Hallway?
Before grabbing your saws and drawing your plumb lines, the first step is defining the visual impact you want to achieve. Wood proportions radically alter how space is perceived in a confined area.
How Does Slat Orientation Change the Room's Vibe?
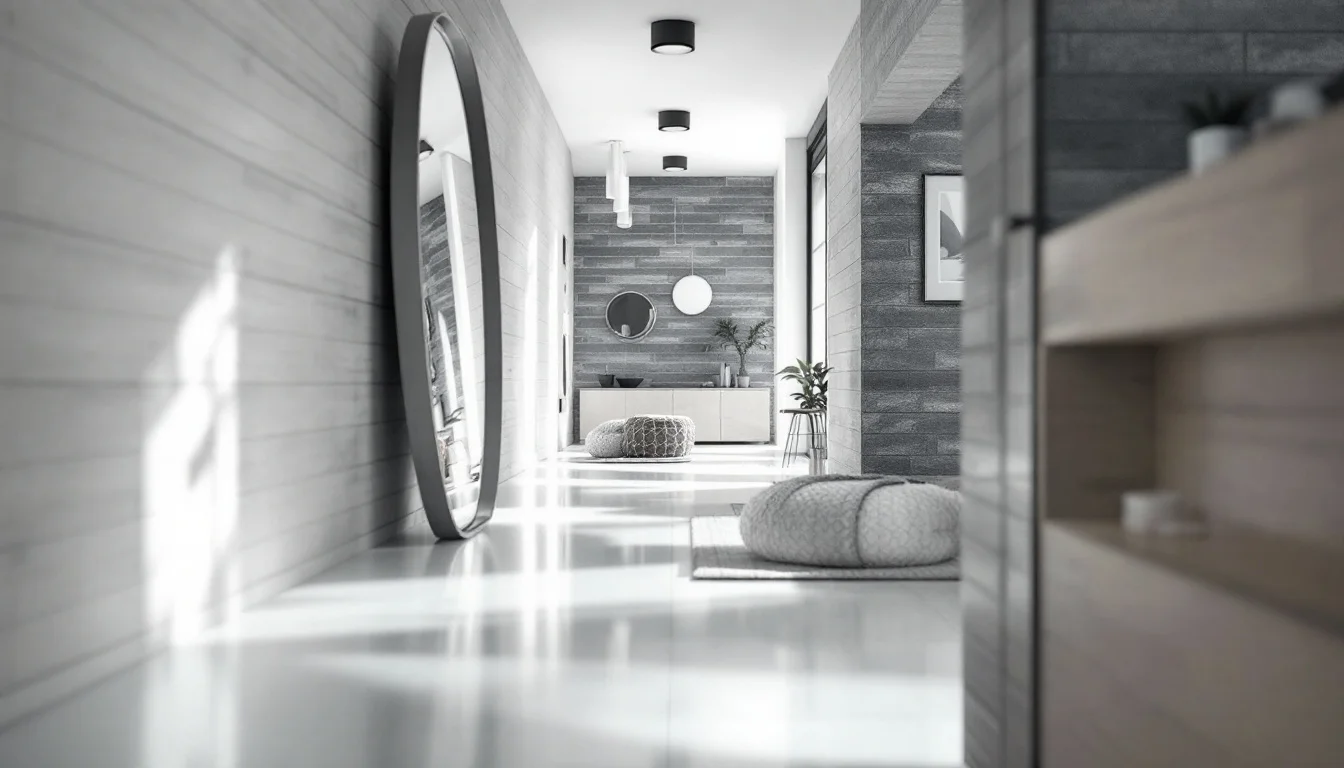
The material's geometric orientation dictates the room's overarching style. A slatwall consists of wooden slats or planks installed vertically or horizontally, secured to battens with a slight gap between each piece. This look is a perfect match for modern or Scandinavian-style interiors.
Conversely, the architecture of wainscoting and raised paneling evokes a more classic feel, naturally complementing a rustic or farmhouse style.
What Paneling Height Should You Choose for Your Space?
The proportion of wall coverage acts as an optical adjustment tool:
- Half-wall paneling is incredibly practical in a small hallway, especially when topped with a narrow shelf for additional storage.
- Full-height paneling, on the other hand, accentuates wall height and creates a striking accent wall.
Comparing Hallway Paneling Approaches
| Architectural Approach | Visual Impact and Style | Associated Functionality |
|---|---|---|
| Full-Height Slatwall | Elongates perspective toward the ceiling (Modern/Scandinavian style) | Creates a strong focal point; conceals major wall irregularities |
| Classic Wainscoting (Half-Height) | Grounds the room's volume (Country or traditional style) | Physical protection against impacts; allows for adding a narrow shelf |
| Painted Accent Wall | Adds depth through a bold color | Structures a long hallway without overwhelming small spaces |
How to Prepare Your Wall and Acclimate Materials
Once your aesthetic choice is locked in, a successful installation relies on the rigorous management of physical constraints. Wood is a living material that constantly reacts to fluctuations in its direct environment.
Why is Monitoring Substrate Moisture Crucial?
The condition of the original substrate will make or break your project. For instance, the installation manual from the manufacturer Meister specifies that walls intended for paneling must be dry and have a maximum residual moisture level of 5%.
An overly damp surface—a common issue in older ground-floor builds—will transfer its moisture directly to the new cladding, resulting in a high risk of structural warping.
How Long Should You Let the Paneling Rest?
Prepping the boards before grabbing your tools requires genuine foresight, but resting times differ depending on your fastening method. A practical guide by adhesive expert Pattex indicates that for a glued installation, the paneling boards should be stored unpacked for 24 hours in the installation room, allowing the wood to adjust to ambient humidity levels.
A completely different protocol applies when installing on a framework: before installation, place the unopened packages flat in the center of the room for 48 hours to acclimate. The room should maintain an ambient temperature of around 20°C (68°F) (at least 15°C/59°F) and a relative humidity between 30% and 65%.
These two distinct protocols stem from vastly different methods. Always consult your paneling manufacturer's instructions before getting started.
Why Choose a Mechanical Installation on Battens?
Fastening via a substructure is a gold standard in interior design. It offers maximum tolerance for old or uneven walls while ensuring your handiwork stands the test of time.
What are the Benefits of an Insulating Air Gap?
Building an intermediate structure delivers invisible yet decisive benefits. Installing wood paneling on battens creates an insulating layer of air that doubles as a moisture barrier.
Conversely, gluing panels directly to the wall demands a perfectly sound, flat surface. While this technique is often associated with PVC, it is entirely feasible with other materials like MDF or composites, provided it aligns with the manufacturer's recommendations.
What Dimensions Must the Framework Follow?
The mechanical strength of the whole setup relies on adhering to strict assembly dimensions. For a wooden batten substructure, use thoroughly dried furring strips, ideally planed on one side.
The specifications for this framework are highly precise:
- A minimum cross-section of 20 x 40 mm for rugged durability.
- A gap generally between 40 and 50 cm depending on the manufacturer, which must be strictly adjusted based on the width, thickness, and weight of the boards used.
- Battens installed perpendicularly to the length of the paneling.
- Secure anchors fastened to the wall or ceiling every 40 to 50 cm.
How Do You Handle Wood Expansion?
The cladding will inevitably undergo seasonal expansion and contraction cycles. Therefore, installation requires anticipating these movements. Leave a gap of at least 10 to 14 mm between the paneling and any walls or fixed structural elements.
Ensure that air can circulate freely behind the paneling—an airflow that can be guaranteed by installing counter-battens.
Furthermore, an expansion joint concealed by a matching trim is essential for large surface areas. This threshold is typically set at 10 meters in length or width, though it may be smaller depending on the manufacturer and the room's humidity conditions.
When Should You Opt for an Express Glued Installation?
For quick projects featuring pristine contemporary walls (plumb and painted drywall), using construction adhesive bypasses the hassle of intensive drilling.
How Do You Glue the Battens?
This method significantly cuts down on noise and dust. The process involves two steps: first, run a bead of construction adhesive along the back of the battens to glue them to the wall. Next, apply another bead of adhesive to the battens where the first board will be placed.
Which Materials Are Suited for This Technique?
This technique is meant for products with a dimensional stability suited to the construction adhesive being used. Position the first board a few millimeters from the edge of the wall or floor to leave an expansion gap. While this margin simplifies the rest of the installation, it demands absolute precision when positioning that very first starter slat.
A quick warning: gluing does not exempt you from meeting the ventilation requirements behind the cladding. Always verify that a glued method is compatible with your specific product by checking with the manufacturer.
How Do You Safely Handle Outlets and Switches in Your Hallway?
A hallway's ergonomics rely heavily on its lighting controls and power points. Adding an extra layer of wood requires technical adaptations for the entire network of surface-mounted fixtures.
How Do You Secure the Electrical System?
Working on existing electrical conduits leaves no room for guesswork. The procedure is straightforward but vital: before starting your installation, turn off the power, remove outlets and switches, and secure the exposed wires with wire nuts or terminal blocks for safety.
For any significant work on an existing electrical setup (such as rewiring or relocating junction boxes), always call in a qualified electrician.
How Do You Adjust the Electrical Boxes?
The combined thickness of the furring strips and the paneling pushes the wall surface further away from the old junction boxes. At every outlet or switch location, install a drywall electrical box and drill the corresponding paneling board using a hole saw.
Conclusion: Wood Paneling is More Than Just a Wall Covering
Installing slat paneling goes far beyond simply camouflaging an unsightly wall. By mastering expansion, humidity control, and load-bearing structures, any DIYer can deploy a genuine architectural framework within their home. This newly acquired wall depth also opens the door to innovative features: the gaps in a slatwall provide the perfect foundation for discreetly recessing aluminum LED profiles. By integrating this kind of lighting, your hallway is instantly transformed into a beautifully illuminated, design-forward space.