Designing a DIY Kitchen Island
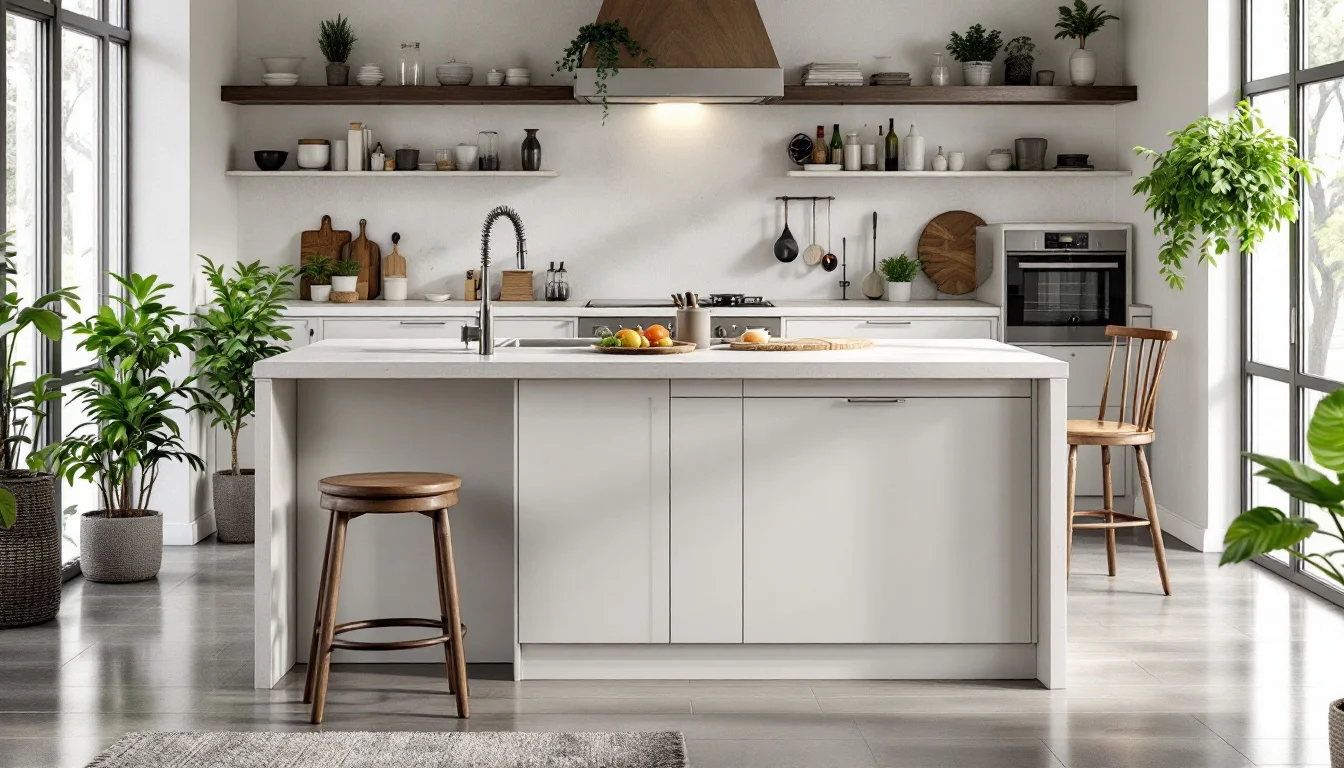
Introduction: When DIY Meets Interior Design
Building your own kitchen island is an exciting project that can radically transform a home's interior. Driven by enthusiasm, it's easy to immediately focus on choosing solid wood, assembling cabinets, or shopping for hardware. However, a successful build doesn't ultimately rely on your skills with a circular saw. True success is determined well in advance, down to the millimeter, during the planning phase.
A disproportionate or poorly placed island will shrink the room's volume and hinder daily movement. This technical guide approaches design from a spatial and ergonomic perspective. From recommended walkway clearances to matching countertop and seating heights, discover how to plan your space with absolute precision before driving a single screw.
Key Takeaways
- Floor space guidelines: Adding a central island depends on the kitchen zone's specific layout and perimeter clearances, not the total square footage of your open-concept living area.
- Clearance: Always leave a minimum walkway clearance of 90 cm to 1 meter entirely around the structure.
- Minimum footprint: To comfortably seat four people for a meal, the countertop should measure at least 120 x 90 cm.
- Seating ergonomics: Every countertop height requires a specific seating style to ensure optimal comfort.
1. Open Concept Spaces: Why Boundaries Matter
Tearing down a wall to create an open floor plan often gives the illusion of unlimited space. This visual trickery leads many DIYers to build oversized furniture, forgetting that the absence of physical walls doesn't eliminate a home's functional boundaries.
Minimum Space for the Prep Zone
In an open-concept living area, every square meter must serve a specific purpose. Integrating a central island comes with distinct constraints. For an open kitchen, accommodating even a small island actually depends on the kitchen's shape and perimeter clearances, even though furniture specialists like 4-pieds.com often suggest a rough baseline of 15 m². Ultimately, it's the kitchen zone's layout that matters, not the size of the entire open room.The Island as an Architectural Boundary
An island does far more than just store pots, pans, or pantry items. It acts as both a visual and physical anchor that structures the room. In an open kitchen, you must ensure the island doesn't encroach on the dining or living areas; the subtle borders between these distinct zones need to be preserved. An island that spills over into the relaxation area disrupts the natural flow of traffic. For the DIY builder, this means drawing a strict virtual line on the floor and sticking to it when drafting cutting plans, ensuring the overall balance of the living space remains intact.2. The Engineering of Empty Space: Clearances and Footprint Testing
Interior design relies on a fundamental principle: the empty space around an object is just as important as the object itself. In the DIY world, there's a strong temptation to maximize the countertop size, which inevitably sacrifices the fluidity of everyday movement.
Countertop Dimensions
The size of your build depends directly on its intended use and any built-in appliances. The absolute minimum footprint for an island that seats four people is 120 x 90 cm. The layout becomes more complex if you're integrating appliances. In fact, you'll need at least 180 x 120 cm if you plan to include a cooktop alongside the dining area. These dimensions will dictate how much lumber you need to buy and how you size the underlying frame.Traffic Flow and Walkways
Once the countertop size is locked in, you need to organize the perimeter. We highly recommend maintaining a minimum walkway clearance of 90 cm to 1 meter entirely around the central island. This buffer zone provides enough room to open oven doors and deep drawers, while comfortably allowing two people to pass one another without squeezing.The Physical Mock-Up
Digital floor plans often skew our real-world perception of distance. To test the footprint before buying materials, you can lay a bedsheet folded to the exact dimensions of the island on the floor, or stack cardboard boxes to the island's intended height to gauge the volume it will occupy. This life-sized mock-up serves as a crucial proof of concept for any DIYer. If navigating around the sheet or boxes feels awkward and cramped, it's time to scale down the plans.3. The Biomechanics of the Dining Area: Height Alignment
Building a kitchen cabinet base requires precise ergonomic planning. Miscalculating the cabinet height by just a few centimeters can completely compromise your comfort. Aligning the countertop perfectly with your seating is a critical functional requirement.
Standard Prep Heights
Cooking remains the primary focus. While 90 cm is a standard starting point, the optimal ergonomic height actually depends on the user's stature (a good rule of thumb is to measure up to your bent elbow and subtract 10 to 15 cm, which typically lands between 85 and 95 cm). We recommend tailoring your island's height to these personal measurements for a more practical cooking experience. Hitting this vertical sweet spot allows you to handle utensils comfortably without muscle strain.The Ergonomic Impact of Armrests
Beyond height, the width of your furniture heavily influences the flow of the room. The armrests of your bar stools or chairs must be able to slide neatly underneath the countertop so they can be tucked away. If you skip this check during the planning phase, your seating will permanently jut out into the walkway, creating a constant tripping hazard.Height Alignment Guide
To choose the right dimensions during your design phase, follow these recommended pairings:| Countertop Configuration | Island Height | Recommended Seating | Corresponding Seat Height |
|---|---|---|---|
| Integrated Dining (Standard) | 90 cm | Counter stool | Approx. 65 cm |
| Bar / Entertaining Space | Approx. 110 cm | Bar stool | Approx. 80 to 85 cm |
| Pull-out Table / Extension | 75 cm | Standard chair | Approx. 45 cm |
Each of these setups requires specific structural considerations. A pull-out extension matches the dimensions of a traditional dining table, whereas a taller bar format is better suited for cocktail hour or a quick breakfast.
4. Anticipating Technical and Visual Constraints
Before permanently gluing and screwing your woodwork together, anticipating both the hidden technical requirements and the overall visual aesthetic is absolutely essential to ensure a long-lasting installation.
The Reality of Utility Connections
Building a cabinet box out of solid wood or plywood is one thing; hardwiring and plumbing it is entirely another. Relocating a water line under a finished floor requires major renovation work. If your island will feature a cooktop or sink, you must first verify that the necessary utilities (water, drainage, electrical) are accessible at that exact location. For a DIY project, if the plumbing isn't already roughed in beneath the floor slab, it's often far wiser to build an island dedicated solely to meal prep and dining.Optimizing Interior Storage
The interior layout of your cabinets determines the build's true utility and heavily influences how the space feels. When it comes to storage, specialized brands like èggo recommend investing in large, deep base drawers and pull-out trays for pots and pans, favoring closed storage to prevent visual clutter. A meticulously planned interior layout keeps your storage out of sight, preventing messy piles from ruining the room's visual lines.Finishes That Lighten the Load
A massive, solid block sitting right in the middle of your home can feel incredibly imposing. However, smart material choices can offset this bulk. To maintain a sense of spaciousness in a kitchen, opt for light-colored cabinet fronts (white visually expands the space) and brighter, lacquered finishes. A careful, high-quality application of paint or varnish will go a long way toward visually lightening the final piece.Frequently Asked Questions (FAQ)
Can I install a kitchen island in a studio apartment?
While installing one in a tight space is technically possible, a central block runs the risk of completely obstructing the path to the living room or front door if the kitchen area is particularly small. A rolling cart or a wall-attached peninsula is often a much more suitable solution for compact interiors.How should I arrange chairs around the countertop?
To maintain the fluid traffic flow mentioned earlier, it's crucial to select counter stools or standard chairs with armrests that slide completely underneath the overhang. Tucking the chairs away frees up that critical one-meter perimeter walkway whenever the dining area isn't in use.Conclusion: Thinking of Your Island as an Evolving Structure
Successfully integrating a central island is the culmination of rigorous planning. Far beyond dowel joinery methods and wood selection, the true hallmark of a successful DIY build is a deep respect for spatial dimensions. By double-checking your floor clearances and pairing your countertop and seating heights correctly, your creation will elevate far beyond a simple piece of furniture. By designing this piece today as an evolving structure—one that could potentially house new appliances down the line or adapt to your household's changing needs—you ensure a truly durable and ergonomic living space.