Building Your Own Wooden Garden Table
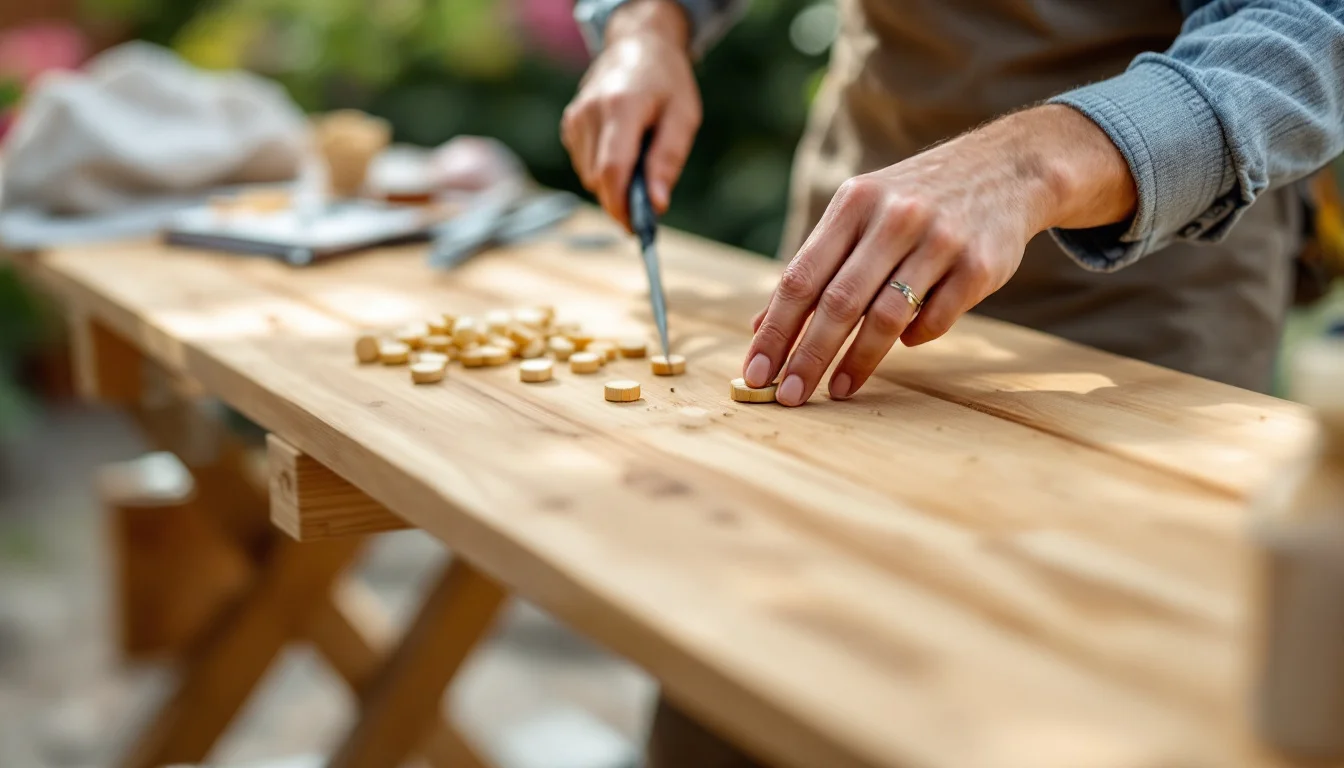
Upgrading your outdoor spaces takes on a whole new dimension when you decide to build your own furniture. Making a garden table is a rewarding project that instantly transforms a patio, but a common mistake is diving into the first tutorial you find without taking stock of the tools in your workshop. The success of this DIY project doesn't rely on some hypothetical "universal blueprint," but rather on the perfect alignment of your tools, your skills, and your chosen method.
Rather than forcing you to buy expensive machinery for a single use, this guide suggests tailoring the furniture's design to what you already own. Two woodworking philosophies constructively face off here. On one side, a fast, modular approach relies on the clever assembly of rectangular boards. On the other, the expert method leans toward heavy-duty shaping, requiring you to carve raw timber for a truly unique result.
Whether you want to put together a sleek structure in record time or prefer taking the time to work with massive logs, the key is adopting the right strategy from the start. Let's explore these two paths to make your next summer meal a true celebration of your craftsmanship.
Key Takeaways
- Light tools: opt to assemble pre-cut boards from the hardware store.
- Heavy tools: lean toward shaping and stacking raw logs.
- Base structure: for the rustic method, each leg requires 3 logs (60, 55, and 50 cm in our example).
- Maintenance: plan to reapply a protective finish at least once a year.
Should You Assemble Boards or Carve Logs?
Before buying any materials, it's crucial to assess your DIY profile. This brainstorming step will save you precious time and keep you from getting stuck halfway through the build.
Profile A: The Weekend DIYer with Basic Tools
If your workshop only holds the bare essentials, steer toward the assembly method. Following the Boender Outdoor plans for a scaffolding wood table, this project is perfectly suited for a free Saturday or a dedicated DIY weekend. The secret to this speed lies in outsourcing the cuts.
- Tools required: A simple power drill.
- Logistics: Boards can be custom-cut at a local home improvement store, like Hubo, or by yourself if you own a circular saw.
- Advantage: You focus purely on construction, guaranteeing a quick and easy assembly.
Profile B: The Homeowner Equipped for Forestry Work
If you own heavy-duty equipment and love the feel of raw timber, the rustic method is for you. The STIHL log table guide calls for a very specific work environment to handle cylindrical volumes safely.
- Tools required: Recommended gear includes a power drill with wood bits, a screwdriver or cordless drill, a sawhorse, a tie-down strap, and a folding rule or tape measure.
- Logistics: You'll need to transport, secure, and buck whole logs, which requires more space and physical strength.
- Advantage: Crafting a massive piece that feels rooted in the landscape.
Comparing the Methods
| Criteria | Quick Method (Boards) | Expert Method (Logs) |
|---|---|---|
| Tools required | Power drill (if cut in-store) | Drill, sawhorse, strap, cutting tools |
| Estimated time | 1 weekend max | Several days of meticulous work |
| Recommended wood | Scaffolding wood | Douglas fir, black locust, pine, larch |
| Maintenance | Oil, wood stain, or paint | Annual penetrating oil |
Project 1: The Contemporary Scaffolding Wood Table (Quick Method)
The first approach favors efficiency and modern lines. This method uses a material highly prized for its rugged look and wide availability, though any other wood species would also work perfectly depending on your taste.
The Precise Cut List
To nail this modular project, prepping your pieces is essential. If you're outsourcing this task to a hardware store, make sure to provide the exact dimensions. The cut list calls for the following elements:
- For the legs: 8 boards (30 x 195 mm), 720 mm long (Parts A).
- For the tabletop: 5 boards (30 x 195 mm), 2450 mm long (Parts B).
- For the long framing: 2 connecting battens (30 x 62 mm), 2370 mm long (Parts C).
- For the short framing: 4 connecting battens (30 x 62 mm), 835 mm long (Parts D).
Assembling the Base
The brilliance of this plan lies in the simplicity of its supporting structure. Here, each leg is made of two "A" boards screwed together along their long edge. This step is repeated four times to create four sturdy L-shaped legs. This right-angle design offers excellent lateral stability without requiring complex joinery techniques like mortise and tenons.
Once the legs are built, they are connected by a frame made from the connecting battens (Parts C and D), creating a rigid base capable of supporting the heavy, long tabletop.
Installing the Tabletop and Final Adjustments
Attaching the five large boards (Parts B) brings the structure together. These nearly two-and-a-half-meter pieces require meticulous alignment. Following these guidelines, the tabletop should have an overhang of about 3 cm on all sides. This aesthetic detail is also highly functional: it allows rainwater to drip away from the frame and legs, protecting the underlying screw joints. Using stainless steel screws is highly recommended to prevent rust streaks on the light-colored wood.
Project 2: The Rustic Log Table (Expert Method)
This second method moves away from the straight lines of the sawmill to embrace the tree's organic shapes. It’s a heavy-duty project that requires strict safety when handling cylindrical logs. Using a sawhorse and a tie-down strap is absolutely essential here to firmly secure each piece before every single cut—not just the first one.
Sizing the Bases
The base of this table doesn't rely on thin boards, but on imposing masses that visually and physically anchor it to the garden. The table legs are crafted from logs roughly 20 cm in diameter, which have been stripped of their bark. Removing the bark is a non-negotiable step to prevent moisture from getting trapped and to make future treatments much easier.
The Pyramidal Stacking Technique
To create a stable foundation and an attractive design, the base isn't just a single vertical block. In this example, each leg consists of three logs stacked from longest to shortest. To build both full table legs, you need to prep:
- 2 pieces of 60 cm (forming the base on the ground).
- 2 pieces of 55 cm (for the middle tier).
- 2 pieces of 50 cm (for the top tier, touching the tabletop).
The Support Brace and Tabletop
To prevent the two massive pillars from bowing outward under the weight of the tabletop, the structure must be locked together longitudinally. The support brace is made from a debarked log about 10 cm in diameter. Sized to match the leg spacing, this brace is naturally shorter than the tabletop. It sits between the two log stacks, creating a structural bridge that absorbs tension. Using a folding rule here is crucial to ensure the spacing is perfectly symmetrical before driving the final screws.
Once the base is complete, it's time to mount the tabletop. For maximum stability, it's recommended to secure each tabletop board with two screws on both sides. Also, make sure the tabletop overhangs the legs by 2 to 3 cm on each end.
Treatments and Longevity: How to Protect Your Outdoor Creation
The Belgian weather puts garden furniture to the test: frequent rain, winter frosts, and harsh summer UV rays. The strategy for protecting your table will fundamentally depend on the materials you selected during the planning phase.
Choosing Naturally Resistant Wood Species
If you opt for the expert log method, your choice of tree is your first line of defense. The best wood species for building an outdoor table are Douglas fir, black locust, pine, and larch. Among these options, how they weather over time varies wildly.
Hardwoods like black locust (provided you use the heartwood) are much tougher than softwoods and require far less maintenance. Some softwoods are extremely weather-resistant, but they tend to seep resin and demand special treatments; with pine, for example, you'll soon need to apply a protective finish against the elements, discoloration, and mold. Investing upfront in a dense wood like black locust heartwood reduces the frequency of tedious maintenance chores down the line.
Finishes Based on Project Type
For the contemporary table, the recommended finish involves thoroughly sanding and cleaning the scaffolding wood. From there, you can take one of two paths:
- Apply oil or a wood stain to preserve the material's raw, natural look.
- Apply a primer followed by exterior paint if you want to bring a pop of color to your patio.
The Annual Maintenance Schedule
Whichever method you choose, wood remains a living material. It's best to clean and maintain the wood several times a year, if only to remove moss and dirt that can trap moisture. To maintain the protective barrier, it's absolutely vital to reapply a coat of your chosen finish at least once a year.
Frequently Asked Questions (FAQ): Wood Safety and Logistics
Can I build the contemporary table with just a drill?
Yes, that's entirely possible with the modular approach. The key lies in outsourcing the cuts: you can have your boards custom-cut at a local hardware store. Then, all you have to do is focus on assembling the elements.
What wood should I choose to avoid treating the table every year?
If you want to cut down on maintenance, invest upfront in a hardwood like black locust heartwood, as recommended. It’s naturally denser, far less vulnerable to the elements than softwoods, and demands less upkeep over the years.
How much time should I set aside for these projects?
The scaffolding wood assembly method is designed for speed: plans show this project can be knocked out on a free Saturday or over a dedicated weekend. Conversely, the log project demands more time and space, as you have to firmly secure each piece to a sawhorse with a strap before every single cut.
Conclusion: From the Workshop to Your First Summer Meal
Building your own outdoor furniture goes beyond the simple satisfaction of having something new. It’s a chance to master your layout from A to Z, personally dictating the dimensions, sturdiness, and finishes of your patio's centerpiece.
Whether you precisely screwed together scaffolding boards or meticulously stacked raw logs, the fundamental process is the same: transforming raw materials into a welcoming space. Handcrafted furniture, with its charming little imperfections, will stick with you for years to come if properly maintained.
To prep your table for the changing seasons, especially before its first winter, consider setting up a simple routine: a light sanding if needed, checking the tightness of the screws or lag bolts, and reapplying a fresh coat of protective oil. That's the secret to ensuring your creation stands the test of time.