Building a Shed in Belgium: A Simple DIY Guide
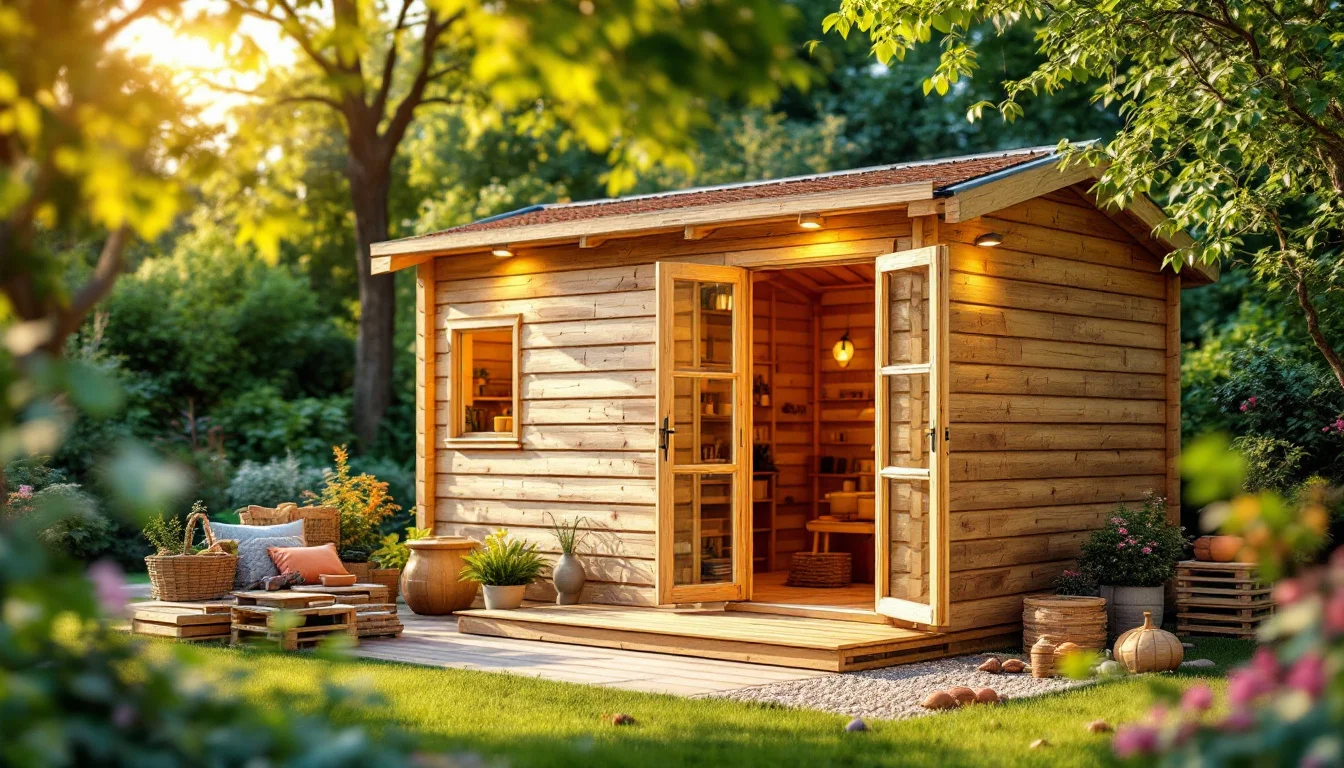
The idea of building a small shed at the bottom of the garden appeals to many homeowners looking to make the most of their outdoor space. Often, this dream relies on an illusion: the promise of an express build wrapped up between Saturday morning and Sunday evening with just a few planks and a basic drill. The reality on the ground, dictated by material physics and soil preparation, is quite different. According to data shared by STIHL, preparing and building a DIY garden shed is a substantial project that takes around four to five days. This much more realistic timeframe requires serious planning and sustained manual effort, ultimately rewarding you with immense personal satisfaction.
Beyond the physical exertion of carpentry, today's DIYer faces another challenge. The line between a simple storage space for the lawnmower and a fully habitable annex represents a major shift in scale. Trying to turn a basic shed into a heated outdoor office drastically changes the project's complexity. For the modern Belgian homeowner, designing smart means, first and foremost, building modest.
Key Takeaways
- Timeframe: Forget the myth of a weekend build; expect four to five days of continuous effort to construct the frame by the book.
- Accessible modeling: Free digital tools let you anticipate every cut and export a highly precise shopping list.
- Strategic sizing: Keeping the roof ridge under 2.5 meters greatly simplifies the design and structure.
Design and Planning: Model the Structure Before Buying a Single Batten
Visualizing and Anticipating Measurements
Before heading to the lumberyard or hardware store, the virtual preparation phase is essential to avoid miscalculations and wasted wood. You certainly don't need a background in drafting or structural engineering to design a solid frame. Free 3D design software, like GardenBox 3D, allows you to visualize a garden shed from every angle.
Generating the Materials List
The major advantage of this kind of digital tool lies in its automated calculation capabilities. The software lets you test various material and color combinations right on your screen. Without any prior expertise in carpentry or graphic design, users can automatically retrieve exact measurements, the required spacing between studs, and total square meterage. The software anticipates assembly and material requirements. This modeling step turns a vague idea sketched on a scrap of paper into a rigorous cutting plan, ensuring that every OSB panel and batten you buy will find its exact place in the build.
Materials and Foundations: The Physical Reality Behind a 'Simple' Project
The Strategic Choice of Wood Species
Selecting the right materials determines the building's ability to withstand the damp climate typical of our regions. Softwoods like Douglas fir, spruce, and larch are excellent choices for a garden shed. Their fibers lend themselves well to manual cutting while offering solid mechanical strength. However, raw wood isn't enough to fend off rising damp and harsh weather; using pre-treated wood is absolutely crucial. Moreover, make sure your construction timber is completely dry before use—wood that is still damp risks warping or cracking as it dries. Ensuring the longevity of your build requires regular maintenance with a suitable wood preservative.
The Hidden Effort of Excavation
It is usually during soil preparation that the DIYer grasps the true scale of the task. For a 2 x 2 m tool shed, the outlined method calls for nine foundation posts, each roughly 40 x 40 cm, spaced 1 meter apart and dug to a depth of 70 cm. Mathematically, this creates a square grid (3x3 posts) requiring nine separate excavations. The volume calculation for a single hole is unforgiving: 0.4 m x 0.4 m x 0.7 m equals 0.112 cubic meters. Multiplied by nine, this process requires digging out and hauling away just over a cubic meter of earth (about 1.008 m³) by sheer elbow grease—dirt that is often heavy and clay-rich. This considerable excavation effort underscores the sheer amount of initial prep work needed before laying the first plank. Proper ground anchoring is non-negotiable to keep the frame stable against strong gusts of wind.
Assembly: The Art of Flat Structural Framing
An Efficient, Asymmetrical Geometric Profile
Once the base is poured and cured, raising the walls begins. To bypass the technical complexity of creating a double-pitch roof truss (which requires multiple beveled angle cuts), simplicity is the way to go. The model described here is a single-pitch roof shed. Its geometry is devastatingly basic, yet highly functional: the right wall measures 2,000 x 1,800 mm, and the left wall (the high wall) measures 2,000 x 2,065 mm. This height difference means one side wall is taller than the other, automatically creating the slope needed for rapid rainwater runoff without any structural acrobatics.
Fasteners and Panel Integrity
Wall panels are generally assembled flat on the ground, a method that guarantees perfect squareness before standing the partitions up and connecting them together. The integrity of this wooden skeleton relies on screws suited to withstand shear stress. In this method, the frames and walls are assembled using 6 x 100 mm screws, ensuring deep penetration through the solid studs. For bracing and exterior sheathing, the OSB wall panels are screwed to the frame from the inside using 3.5 x 40 mm screws. By securing the cladding from the inside, the structure protects the screw heads from direct exposure to rust while locking in the shed's overall rigidity.
The Tipping Point: When a Shed Becomes an Annex
The Limits of Simplicity
Evolving lifestyles often push homeowners to think bigger, transforming a simple tool shed into a fully insulated, wired, and heated home office. However, the scale of the building is the deciding factor. An outdoor structure with a maximum height of 2.5 meters remains a manageable size for a DIY project. Exceeding these dimensions or altering the building's intended use pushes the construction into an entirely different technical dimension.
Frequently Asked Questions (FAQ): About the DIY Garden Shed
Longevity of Raw Wood
Can I leave the structure exposed without treatment after assembly? No. To combat rising damp and harsh weather, you absolutely must use pre-treated wood. Also ensure the wood is fully dry before starting your build: wood that is still damp risks warping or cracking as it dries. Even if you select premium species (Douglas fir, spruce, larch), regular application of a suitable wood preservative is what guarantees the longevity of your build.Software Compatibility for Planning
Do I need a newer computer to use 3D modeling tools? Virtual planning is highly accessible. The GardenBox 3D tool, for instance, is compatible with Windows 11, 10, 8, and 7. It allows the user to automatically get exact measurements, stud spacing, and total square meterage right on screen.Structural Choice for the Roof
Why avoid a flat or double-pitch roof? A single-pitch roof model introduces a height difference (for example, a 2,065 mm left wall versus a 1,800 mm right wall) that automatically creates the necessary slope for rapid rainwater runoff without any structural acrobatics.Conclusion: Stay Modest to Stay Free
Building your own shed is much more than a simple carpentry exercise; it's a test of balance between a creator's enthusiasm and a homeowner's pragmatism. Modern engineering and free software offer an unprecedented level of design comfort, making woodworking accessible to anyone willing to break a sweat on their foundations. Nevertheless, the evolution of the built environment demands a new philosophy for outdoor landscaping. The value of any development often lies in its ability to blend into the landscape. Preserving the scale of your project is essential. True contemporary luxury may no longer be about owning a grand, majestic annex, but rather enjoying a practical outbuilding, built with your own two hands.